
Many PowerPoint users are looking for ways to wrap text in presentations. Text wrapping around images, tables, shapes, charts, and other page elements is a common feature in page layout software and image editing applications; however, it’s not supported in PowerPoint at the time of writing.
You may ask: why is text wrapping not supported in PowerPoint? According to a blog post by Erik Jensen, Microsoft didn’t include wrapping tools for PowerPoint as the application focuses on delivering content with keywords instead of lengthy explanations. The post suggests using Word or Publisher for that.
Luckily, there are some workarounds and alternatives to use and simulate the appearance of text wrapping in PowerPoint. Our article focuses on bringing you ways to wrap your text around elements on your slides and make visually appealing, easily comprehensive presentations.
Note: The instructions below apply to PowerPoint 2019, 2016, 2013, and 2010, PowerPoint for Office 365 subscribers, and PowerPoint Online. Some steps in other PowerPoint versions may not be available or slightly differ from what’s described in our article.
Let’s get started!
Wrap text in PowerPoint
As discussed above, there’s no built-in text wrap feature in PowerPoint. Here are some popular alternatives that mimic the look of the wrapped text.
- Manually insert space to nudge text
- Use multiple text boxes
- Import wrapped text from Microsoft Word
Method 1: Manually insert space to nudge text

Considered an “old-but-gold” solution, many people resort to manually placing spaces inside text boxes to mimic how the wrapped text looks in design. This might be a little tedious. However, you can control how you place spaces and create a wrapped text that looks straight in PowerPoint without switching applications.
Here are the steps to ensure you can manually wrap text around elements in PowerPoint.
- First, create a text box with all the text you want to wrap and position it around the element you’re using as a guide. This can be any element. However, if you’re using a rectangle shape, we recommend skipping to Method 2.
- Right-click on your element and choose the Send to back option. Doing this will ensure that your part doesn’t overlap with your text.
- Once your text and element are ready and placed, you can begin the manual wrapping process. Click inside your reader as if you were going to edit it, and ensure that it is aligned to the left.
- Place the blinking cursor to where you want to start breaking the text, then manually tap the spacebar or Tab key to insert spaces. Simply repeat this process on each line of your text until you’re happy with the look and result.
Method 2: Use multiple text boxes
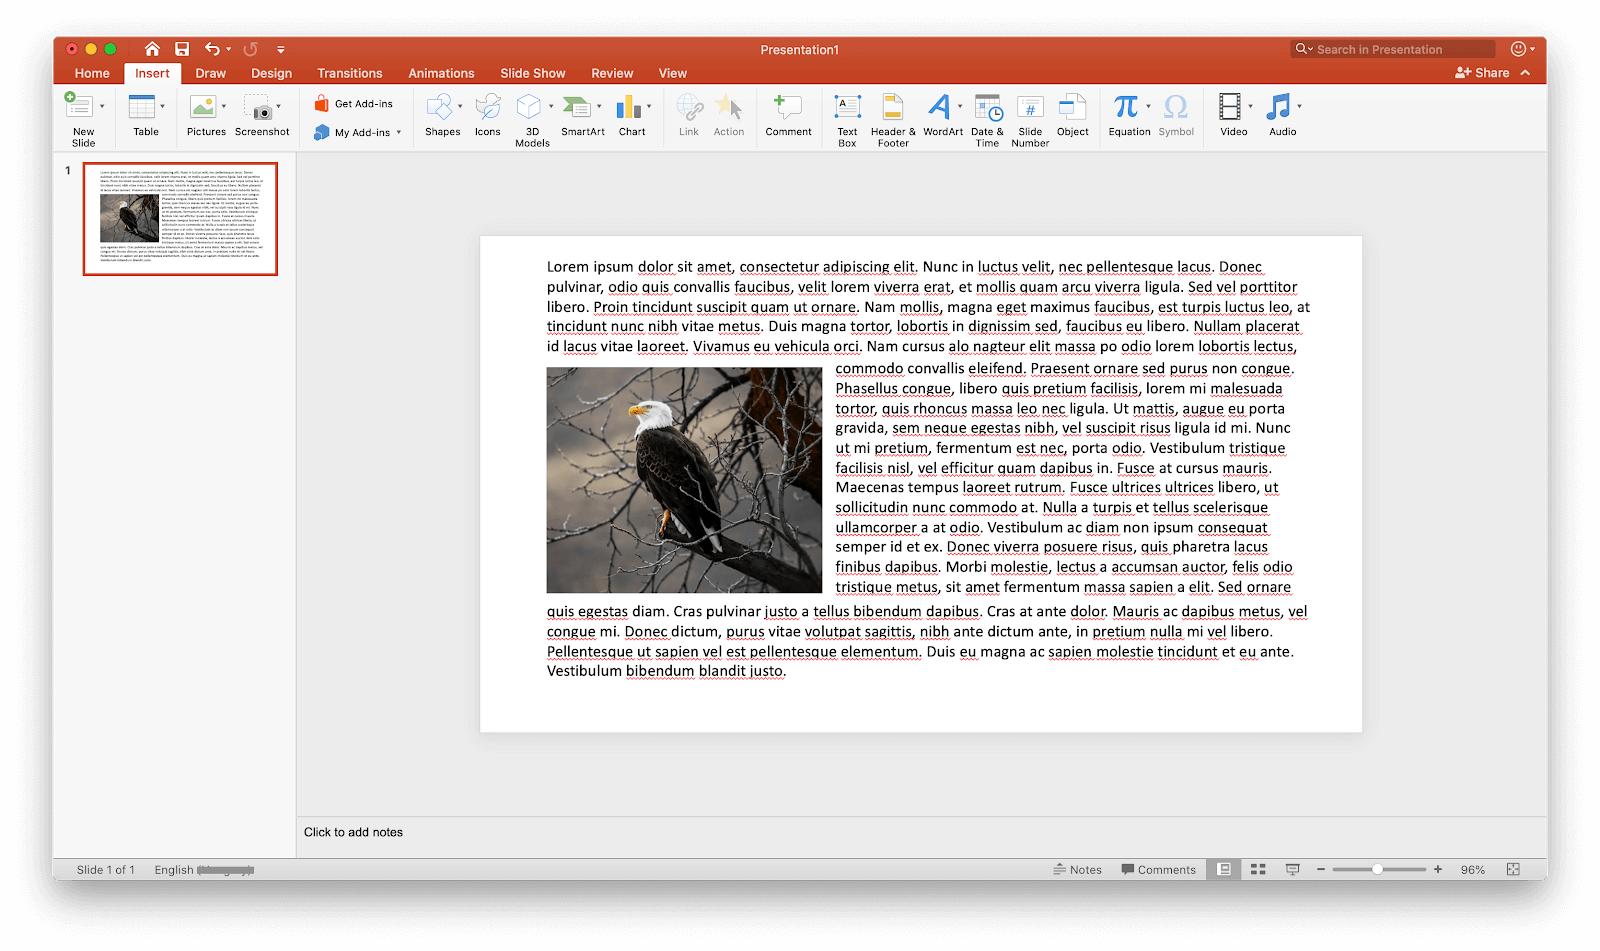
If you’re planning on wrapping text around a rectangular shape, it’s quite easy to use multiple text boxes placed differently to mimic the appearance of the wrap. This can be done by simply inserting your rectangular element, be it an image, shape, video, or anything else, and creating text boxes that follow the body closely.
In most cases, a wide text box on the top and bottom, as well as a tall but narrow box for the middle, gets the job done. If you need guidance, refer to the image above.
Method 3: Import wrapped text from Microsoft Word

If you have access to Microsoft Word, you can easily use it to create neatly wrapped text and import it into your PowerPoint presentation. Here are the steps you need to take to do just that.
- Select the slide where you want to have wrapped text. If you already have your text written out, copy it.
- Click on the Insert tab and select Object.
- A new window will appear. Select “Microsoft Word Document” in the Object Type field and click the OK button. This should automatically launch Word if it’s detected on your computer.
- Type or paste your text in Word, then insert any elements you want to wrap text around.
- Select the element you want to wrap your text around and right-click on it. Navigate to Wrap text and select whichever type you prefer.
- Position your element as desired and press the Ctrl + S (Command + S on macOS) keys to save it. You should immediately see it in your PowerPoint slide.
- You can edit this by double-clicking on the Object, which will open up Word again and allow you to adjust anything.
Conclusion
We hope this article helped you learn how to wrap text in PowerPoint.
Are you interested in learning more about Windows and Office products? Do you need help fixing any other errors and issues?