One powerful yet often overlooked feature is the ability to create custom lists in Excel. With custom lists, you can sort or fill data in a user-defined order, tailored to your specific needs.
In this step-by-step guide, we'll show you how to create and use custom lists in Excel. You'll unlock a hidden productivity booster that will streamline your data entry and organization tasks. Get ready to supercharge your Excel skills and take control of your data like never before.

Table of Contents
- What is a custom list in Excel?
- How To Create A Custom List
- Enter values directly
- Create a custom list from a cell range
- How To Delete a Custom List
- Advantages of Custom Lists in Excel
- FAQs
- Final Thoughts
What is a custom list in Excel?
A custom list in Excel is a predefined order of values that you can create and use for sorting data. It allows you to sort data in a specific sequence that may not follow the default alphabetical or numerical order.
By defining your own custom list, you can prioritize certain values or categories according to your needs.
Key points about custom lists in Excel:
- User-defined order: Unlike the standard sorting options in Excel, custom lists give you the flexibility to sort data in a sequence that makes sense to you. You can define the order based on your specific requirements.
- Repetitive tasks: Custom lists are particularly helpful when you need to perform repetitive tasks on the same set of data. Instead of manually rearranging the data each time, you can apply the custom list to automatically sort it according to your desired order.
- Easy creation: Excel provides a simple way to create custom lists. You can define a custom list by entering the values manually or by importing them from a range of cells. Once created, the custom list can be saved and reused whenever needed.
- Sorting and filling: Custom lists can be applied to sort data in ascending or descending order based on the defined sequence. They can also be used to fill data in a specified order, such as months of the year or days of the week.
- Improved efficiency: By utilizing custom lists, you can streamline your data management tasks and improve efficiency. It saves time by automating the sorting and filling processes, allowing you to focus on analyzing and interpreting the data.
How To Create A Custom List
To create a custom list in Excel, there are two methods available depending on the length of the list: entering values directly or importing from a cell range.
Enter values directly
-
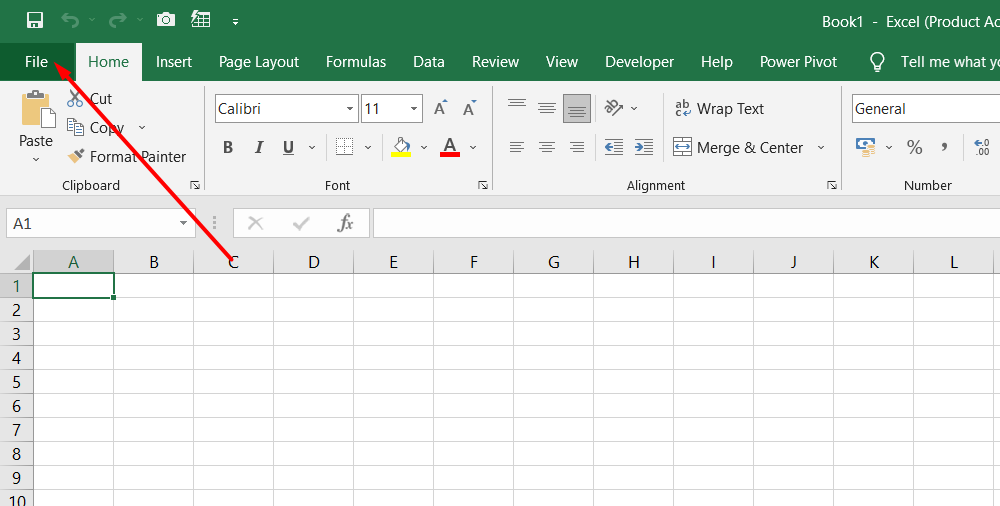
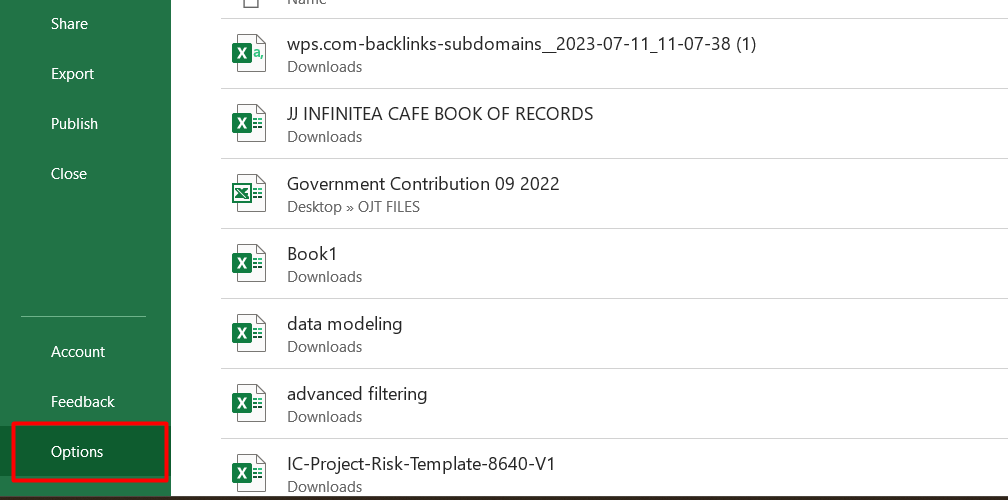
In Excel 2010 and later versions, go to File > Options > Advanced > General > Edit Custom Lists.


- In Excel 2007, click the Microsoft Office Button > Excel Options > Popular > Top options for working with Excel > Edit Custom Lists.
- In the Custom Lists box, click "NEW LIST" and start typing the entries in the List entries box, pressing Enter after each entry.
- Once the list is complete, click "Add" to include it in the custom lists panel.
- Click OK twice to save the custom list.
Create a custom list from a cell range
- Enter the values in the desired order, from top to bottom, in a range of cells.
-
Select the range of cells and follow the steps mentioned earlier to open the Edit Custom Lists popup window.
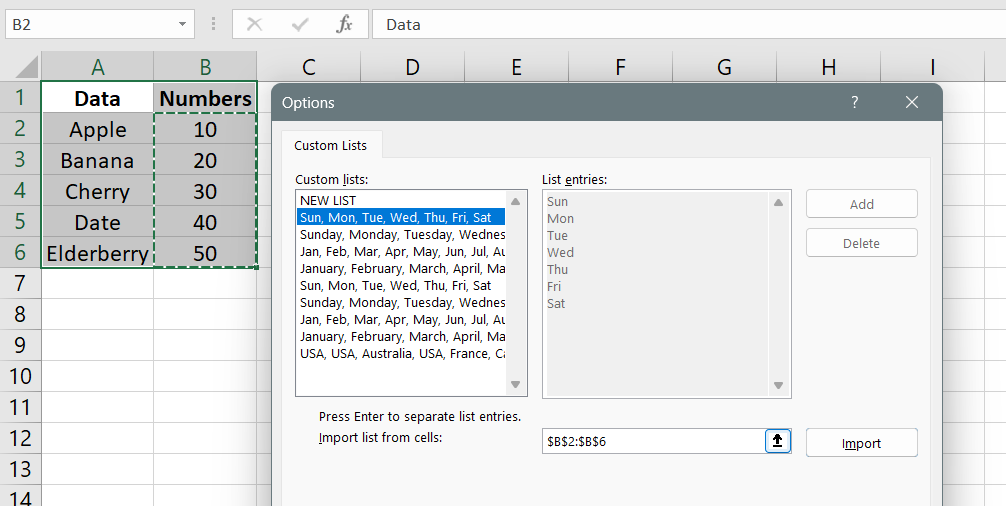
- Verify that the cell reference of the list appears in the Import list from cells field, and click "Import" to import the values into the custom lists panel.
- Click OK twice to save the custom list.
It's important to note that custom lists can only be created based on values such as text, numbers, dates, or times. Formatting attributes like cell color, font color, or icons cannot be used to create a custom list.
By creating custom lists, you can easily sort or fill data in a specific order according to your requirements, saving time and improving efficiency in your Excel tasks.
How To Delete a Custom List
To delete a custom list in Excel, follow these straightforward steps:
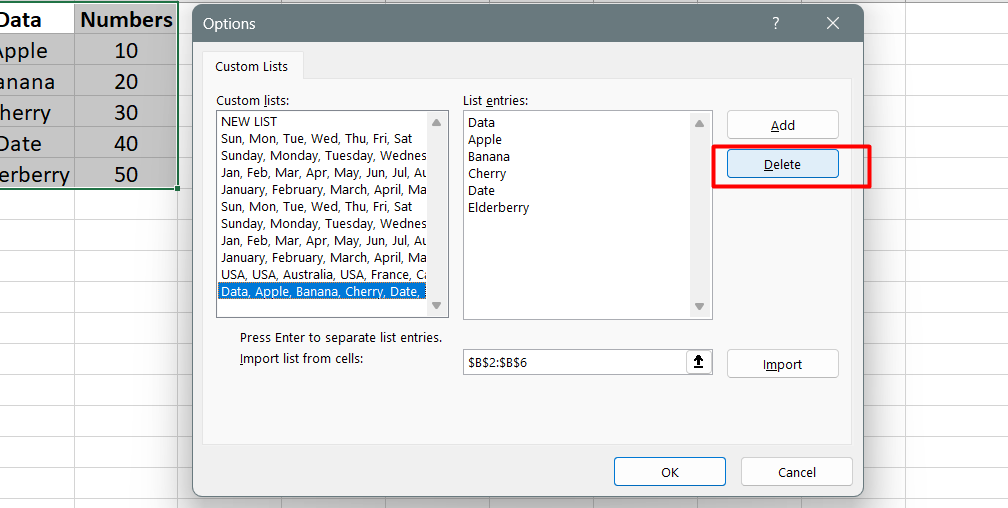
- Display the Edit Custom Lists dialog by following the instructions mentioned earlier.
- In the Custom Lists box within the dialog, select the custom list that you want to delete.
-
Click on the "Delete" button.
By following these steps, you can easily remove a custom list from Excel. This can be helpful if you no longer need a particular custom list or if you want to make changes to an existing list.
Deleting a custom list allows you to keep your custom lists organized and relevant to your current needs. It provides flexibility in managing your lists and ensures that you have the most up-to-date and appropriate lists available for sorting or filling data in Excel.
Remember that deleting a custom list will permanently remove it from Excel, so ensure that you select the correct list before proceeding with the deletion.
Advantages of Custom Lists in Excel
Using custom lists in Excel for sorting and filling data offers several advantages that can greatly enhance efficiency and streamline data management tasks. Here are the key advantages:
- Time-saving: Custom lists eliminate the need for manual sorting or filling data, saving significant time and effort. With a predefined order, you can quickly sort or fill data with just a few clicks.
- Consistency: Custom lists ensure consistency in sorting and filling data. By defining your own order, you can ensure that data is arranged or filled in a standardized and consistent manner throughout your workbook.
- User-defined order: Custom lists allow you to sort data based on your specific requirements, rather than relying on default alphabetical or numerical order. This flexibility enables you to prioritize values or categories according to your needs.
- Repetitive task automation: If you frequently work with data that requires the same sorting or filling pattern, custom lists automate the process. You can apply the custom list repeatedly without having to manually recreate the order each time.
- Ease of use: Creating and applying custom lists in Excel is straightforward. The interface provides user-friendly options to define and manage lists, making it accessible for users with varying levels of Excel proficiency.
- Versatility: Custom lists can be used in various scenarios, from sorting months or days of the week to filling data with specific categories or sequences. The versatility of custom lists allows for efficient data organization across different types of datasets.
In summary, utilizing custom lists in Excel saves time, ensures consistency, and provides the flexibility to sort and fill data according to your specific requirements. It simplifies repetitive tasks, enhances data organization, and contributes to overall productivity in Excel workflows.
FAQs
How do I create a custom list?
To create a custom list in Excel, go to the "File" tab, select "Options," choose "Advanced," scroll down to the "General" section, and click on "Edit Custom Lists" to define your desired list.
What is a custom list in Excel?
A custom list in Excel is a user-defined order of values that can be used for sorting or filling data automatically based on the specified list order.
How do I create a custom filter list in Excel?
To create a custom filter list in Excel, select the data range, go to the "Data" tab, click on "Filter," and choose "Filter by Selected Cell's Color" or "Filter by Selected Cell's Font Color" to create a custom filter based on color.
How do I create a selective list in Excel?
To create a selective list in Excel, you can manually type the desired values in a column, or you can create a custom list by following the steps mentioned earlier and then apply the list to the desired range.
How do I create a drop-down list in Excel with multiple selections?
To create a drop-down list in Excel with multiple selections, you need to use a combination of data validation and checkboxes. First, create a list of options, then select the cell where you want the drop-down list, go to the "Data" tab, click on "Data Validation," choose "List," and enter the range of options. Finally, insert checkboxes for each option using the "Developer" tab, allowing multiple selections.
Final Thoughts
Creating a custom list in Excel is a valuable skill that can greatly enhance your data management efficiency. By defining your own order, you can easily sort and fill data according to your specific needs.
Whether it's arranging months, days of the week, or any custom sequence, custom lists provide a convenient way to streamline your tasks. They eliminate the need for manual sorting and filling, saving you time and effort.
One more thing
If you have a second, please share this article on your socials; someone else may benefit too.
Subscribe to our newsletter and be the first to read our future articles, reviews, and blog post right in your email inbox. We also offer deals, promotions, and updates on our products and share them via email. You won’t miss one.