An IP address is a unique way to identify your computer when connected to a network. Each device has a different IP address, making it simple for the network to differentiate them.
If you're getting the "Windows has detected an IP address conflict" error, it means that your IP is already in use within the network. All private IP addresses must be unique, or else you will run into complications.
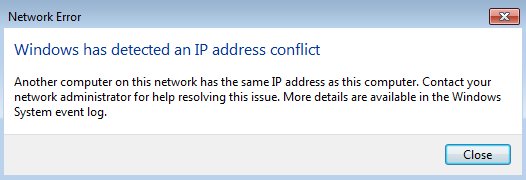
For example, if you connect a PC, a laptop, and a smartphone to the same network, there should be three different IP addresses. However, if two of these devices share the same IP address, it’ll be virtually impossible for the network to make a difference between them.
This is either an issue in your PC settings or in your router.
You should troubleshoot this issue immediately after receiving it. The conflicting IP addresses can lead to complications when using the network. Follow our guide to learn how you can get rid of this error message.
Windows has detected an IP address conflict Quick Fixes
There are many ways to solve your IP address issues. Some are more advanced than the others; our list goes from the simplest solutions to more advanced ones.
Because of this, it’s recommended to try the methods in order from top to bottom. If the simpler methods didn’t work for you, follow our steps to ensure that your devices are restored to have unique IP addresses.
Solution 1: Restart your router
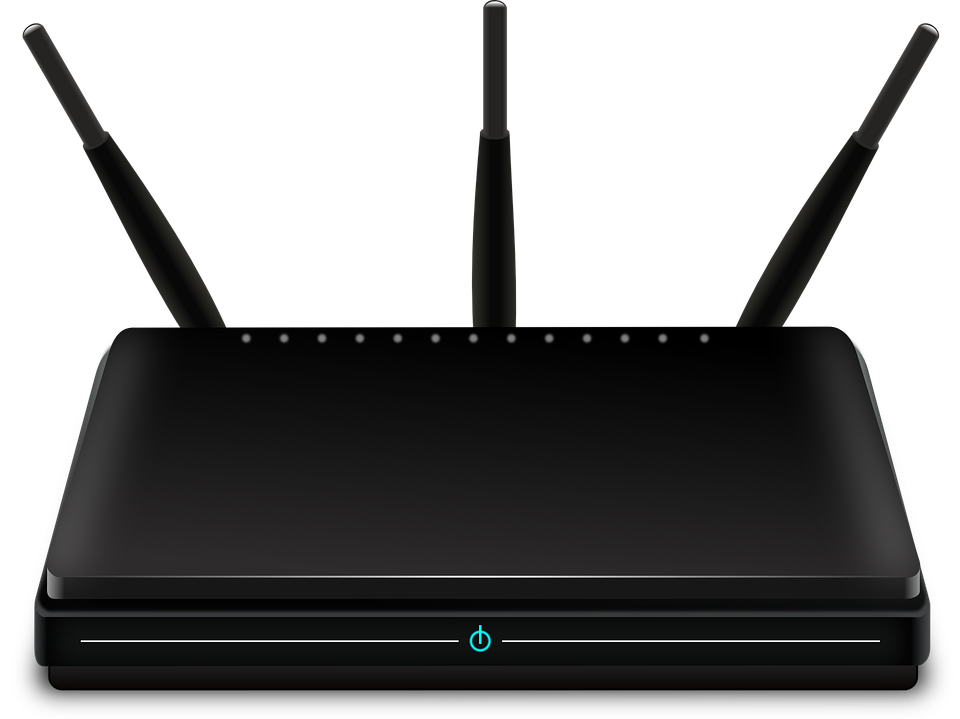
Your router is responsible for assigning IP addresses to each device connected to the network. It’s possible that your router failed to give a unique IP to a device, resulting in the "Windows has detected an IP address conflict" error message.
- Locate the power button on your router and turn the device off. This will disconnect you from the internet and shut down the network temporarily.
- Wait for a few minutes. Usually, 5 minutes is more than enough time for your router and network to properly shut down.
- Turn your router back on.
When your router is done turning back, try and check if the error is still present. You might have to re-connect your devices to the network.
Solution 2: Disable then re-enable your network adapter
The network adapter in your device interfaces it to the network. It can either be a USB network adapter or a wireless one. Disabling and re-enabling this adapter in Windows can often fix issues with your connection.
Please note that you’re required to have a local user with administrative permissions to perform this method.
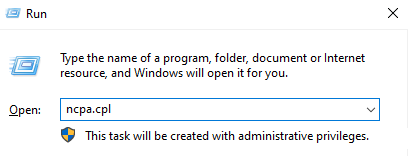
- Press and hold the Windows key on your keyboard, then press R. This will bring up the Run utility.
-
Type in ncpa.cpl and click on the OK button. Doing this will open up the Network Connections window.
-
Right-click on the adapter you’re using, then select the Disable option.

-
Once it’s properly disabled and you’re disconnected from the network, right-click on the same adapter and click Enable.

- Restart your device and try to check if the IP conflict is still happening.
Solution 3: Release and Renew Your IP Address
This method is one of the most trustworthy methods when it comes to network problems, especially with IPs. We will be using commands to release your current IP and prompt your router to assign a new, fresh IP to your device.
Please note that you’re required to have a local user with administrative permissions to perform this method.
-
Search for Command Prompt in your search bar. Right-click on the top result and choose Run as administrator. You might be prompted to enter your user password.

- In the command prompt window, type in the following three commands. Make sure you press enter after each one:
- netsh int IP reset c:\resetlog.txt
- ipconfig /release
- ipconfig /renew
After attempting to do this, test if Windows still detects an IP address conflict with your device. Even if the error still persists, we still have some methods that might help you with troubleshooting.
Solution 4: Remove Static IP
Having a static IP address means that the address your computer is using was entered and configured manually. This can cause issues on your network.
It’s often preferred to have an IP address automatically assigned to your device by your router. If you’re getting the "Windows has detected an IP address conflict" error message, we recommend trying to use an automatic IP instead.
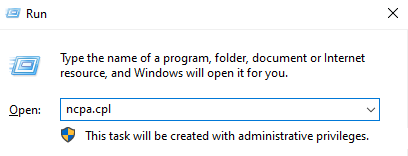
- Press and hold the Windows key on your keyboard, then press R. This will bring up the Run utility.
-
Type in ncpa.cpl and click on the OK button. Doing this will open up the Network Connections window.
-
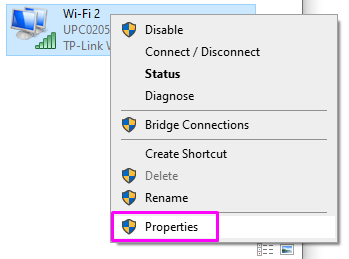
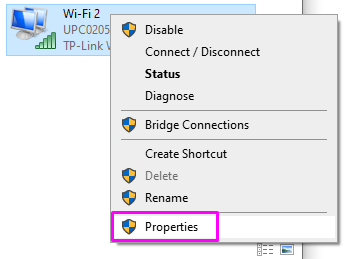
Right-click on the adapter you’re using, then select the Properties option.
-
Double click on Internet Protocol Version 4 (TCP/IPv4).
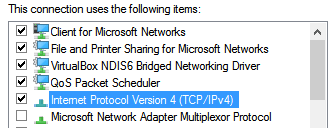
- From the General tab, select both Obtain an IP address automatically and Obtain DNS server address automatically.
- Click the OK button on both windows and restart your computer.
Solution 5: Update your Network Card Driver
Regularly updating your drivers is something you should do all the time. Outdated network card drivers can cause more trouble than you’d think.
There are multiple ways in which you can update your drivers. Follow one of the guides which suit your approach.
Method 1: Update your driver from Windows itself
In this method, we will be using the integrated Device Manager to find a new, updated driver.
- Press and hold the Windows key, then press R. This will launch the Run application.
-
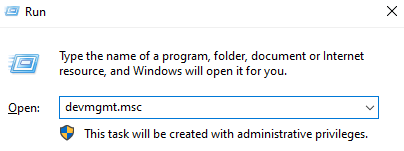
Type in devmgmt.msc and hit OK to open the Device Manager.
- Expand the Network adapters section by clicking on the arrow icon.
- Right-click on your driver and select Update Driver.
-
Click on Search automatically for updated driver software.

- If Windows can find an updated driver, it will automatically download and install the update to your computer.
- Restart your PC and test if the issue is solved.
Method 2: Update your drivers with a third-party app
You can also find and download third-party updater tools such as Driver Booster, DriverHub, or DriverPack Solution. These three tools are all free and easy to use, but you can always look around the web for more advanced apps.
Note: Always make sure that the app you’re using is trustworthy. Many applications that promise to fix or update your drivers contain malware, adware, or spyware. We recommend searching the name of the product and reading reviews made by real people.
Solution 6: Disable IPV6
Due to the IPv6 technology being fairly new, it can cause the "Windows has detected an IP address conflict" error to show up on your device. The last thing we recommend trying is to disable IPv6 entirely.
- Press and hold the Windows key on your keyboard, then press R. This will bring up the Run utility.
-
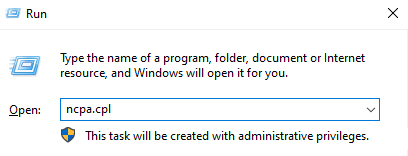
Type in ncpa.cpl and click on the OK button. Doing this will open up the Network Connections window.
-
Right-click on the adapter you’re using, then select the Properties option.
- Remove the checkmark from Internet Protocol Version 6 (TCP/IPv6) so that the box is empty. This will disable the use of IPv6 on your device.
- Restart your computer and see if the issue is fixed.
We hope that with our help, you were able to get rid of the 'Windows has detected an IP address conflict' error on your PC.