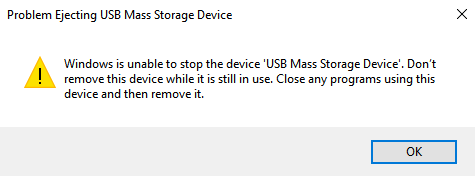
When using USB mass storage devices, you might run into an error where Windows is unable to stop the device. This error prevents you from safely ejecting these devices to prevent the loss of data.
Why is it important to safely remove a device?
Mass storage devices are incredibly useful to store and move large amounts of data between computers. If you use the device incorrectly, you risk damaging the files stored on it. This can lead to corrupt and unusable files.
For example, when using a USB flash drive, it might be tempting to just unplug it from your computer when you’re done using it. However, this is known to be risky and should never be done.
Windows has a feature that allows you to “eject” the drive first. This basically disconnects the drive and lets Windows know you’re no longer using it. After you’ve ejected the drive, you can safely unplug.
But what are you supposed to do if Windows returns an error message? The only answer is troubleshooting. Continue reading our article to learn many ways of fixing this error quickly and efficiently!
Fix: Windows is unable to stop the device
Most of the time, this error is caused by two things. Either a background application still using the device, or some files stored on the device are still open.
You can fix this error message in several different ways. Today, we’re bringing you methods that are easy to perform even if you’ve never done troubleshooting on your PC before.
Note: Our guide was written for Windows 10 users, however, the methods will work on other Windows operating systems as well. Keep in mind that when using a different Windows, some steps might require a different path to reach the desired outcome.
Use Windows' Safe Removal Tool
Some Windows 10 users have reported that after the error initially shows, using the safe removal tool another time might fix the issue. Here is a quick guide on how you can use this tool:
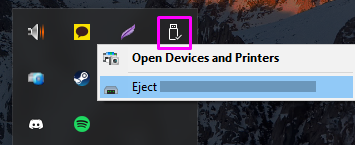
- Click on the arrow icon on your taskbar. This is located next to your other icons, such as network or volume.
- When the taskbar expands, right-click on your USB device.
-
Select the Eject Device option. Instead of “Device,” you’ll see the name of the USB currently plugged into your computer.
- After you get the error, repeat the first three steps once again. There is a chance that this time, Windows will safely eject your device.
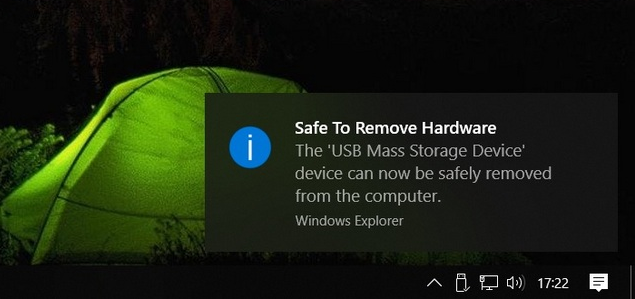
After successfully ejecting a device, you should see a Safe To Remove Hardware notification alerting you that you can safely unplug it now. If you don’t see this notification come up, do not remove the device from your computer yet.
Find the application using your device
As previously mentioned, it’s likely that an application you have open is accessing your device. While there is no definite way of finding out which one it is, you can either make an educated guess or close applications one by one.
The best way of doing this is by ending the processes in the Task Manager. This enables you to close all applications, even those tucked in your taskbar.
-
Right-click on an empty space in your taskbar. From the menu, select Task Manager. Alternatively, you can press the Windows and X keys at the same time and select it from there.

- Switch to the Processes tab.
- Begin closing applications that you think might be accessing your USB device. If you’re unsure, close applications one by one. Test if you can eject the USB after each program has shut down.
When you see the Safe To Remove Hardware notification, you’ve successfully closed the app causing the issue. Now, you will always know which program to close first.
Disable background processes
Another way of solving the issue is to temporarily disable every background process on your computer. This helps you determine whether or not something is interfering with the removal of your USB device.
-
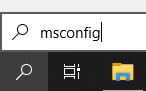
Search for msconfig in your search bar.
-
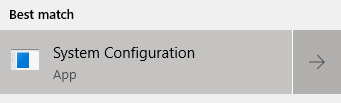
Open the System Configuration app from the results.
-
Switch to the Services tab.

-
Place a checkmark in the box next to Hide all Microsoft services.
-
Click Disable all, then hit Apply.
Test whether or not you can safely eject the device while the processes are disabled. If you see the Safe To Remove Hardware notification, the answer is yes.
After you’re done, you can re-enable every service by clicking on the Enable all button from the same window.
Restart Explorer.exe
There is a chance that the “Windows is unable to stop the device” error is still happening even after you closed every possible app. This could be a sign that the issue is with Explorer itself.
Simply restarting the Explorer.exe process can do the trick. To do this, we’ll be using the Task Manager once again.
-
Right-click on an empty space in your taskbar. From the menu, select Task Manager. Alternatively, you can press the Windows and X keys at the same time and select it from there.
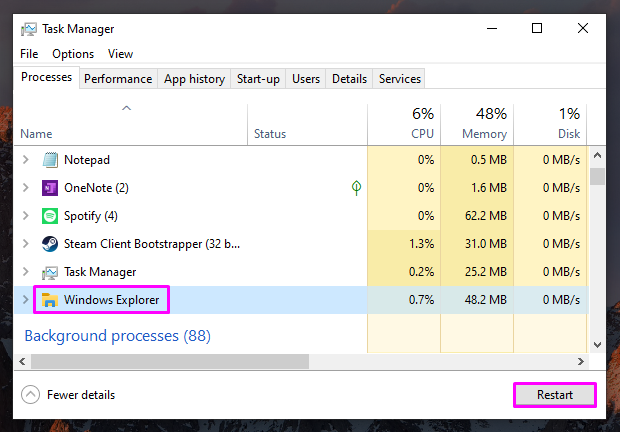
- Switch to the Processes tab and find Windows Explorer.
-
Click on Windows Explorer, then hit the Restart button in the bottom-right of the Task Manager.
After doing this, your applications and Windows interface will temporarily disappear. This is a good sign - it means that Explorer.exe is correctly restarting itself. When everything is back on your screen, attempt safely removing your USB.
Use a third-party App
When the integrated safe removal tool doesn’t cut it, you can attempt to eject your device through a third-party app. These applications are simple, however, they’re capable of improving the handling of USB devices.
Warning: Always ensure that the application you’re using is trustworthy. Many programs that promise to solve issues on your PC do the opposite. There is even a possibility of allowing malware on your system.
We recommend researching the name of the application you’re planning to use. You can find reviews left by real users this way. If the majority of people are saying that an app contains malicious files, do not download it.
Here are some applications we recommend using when in need of a third-party tool to eject a USB device. These applications all offer a simple interface to get the job done quickly, for free:
- USB Safely Remove
- USB Disk Ejector
- ProEject
Enable quick removal
If you’re okay with a little performance loss and none of the above methods worked for you, there is something else you can try.
Every device comes with an option that makes it possible to unplug without having to manually eject in Windows first. This is referred to as Quick removal. Follow these steps to enable it:
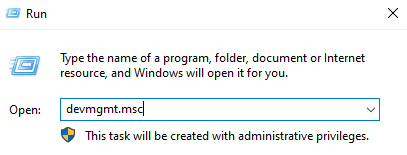
- Press and hold down the Windows key on your keyboard, then hit the R key. This will bring up a utility called Run.
-
Type in devmgmt.msc and click the OK button. Doing this will launch the Device Manager.
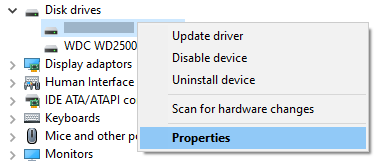
- Click on the arrow icon next to Disk drives to expand the category. Your device should show up here.
-
Right-click on the device and select Properties from the menu.
- Switch to the Policies tab, then select Quick removal. When done, click the OK button.
After you switch your device to Quick removal, you can safely unplug it from your computer without having to eject it first. However, doing this will also result in performance loss (disabled write caching).
We hope that our methods were helpful in solving your issue with the “Windows is unable to stop the device” error message. You can safely remove your device now without having to worry about damage or data loss.
If you’re looking for a software company you can trust for its integrity and honest business practices, look no further than SoftwareKeep. We are a Microsoft Certified Partner and a BBB Accredited Business that cares about bringing our customers a reliable, satisfying experience on the software products they need. We will be with you before, during, and after all the sales.