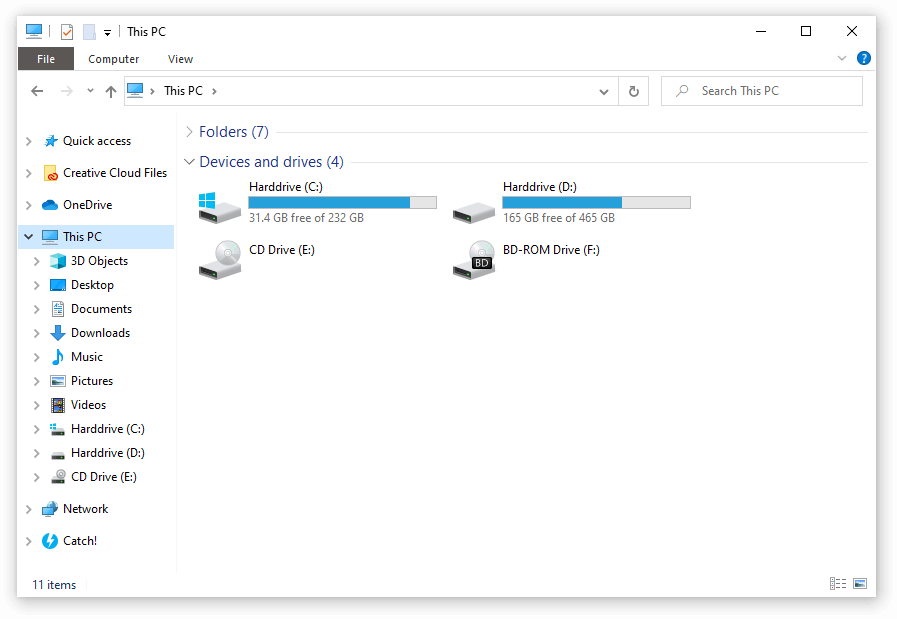
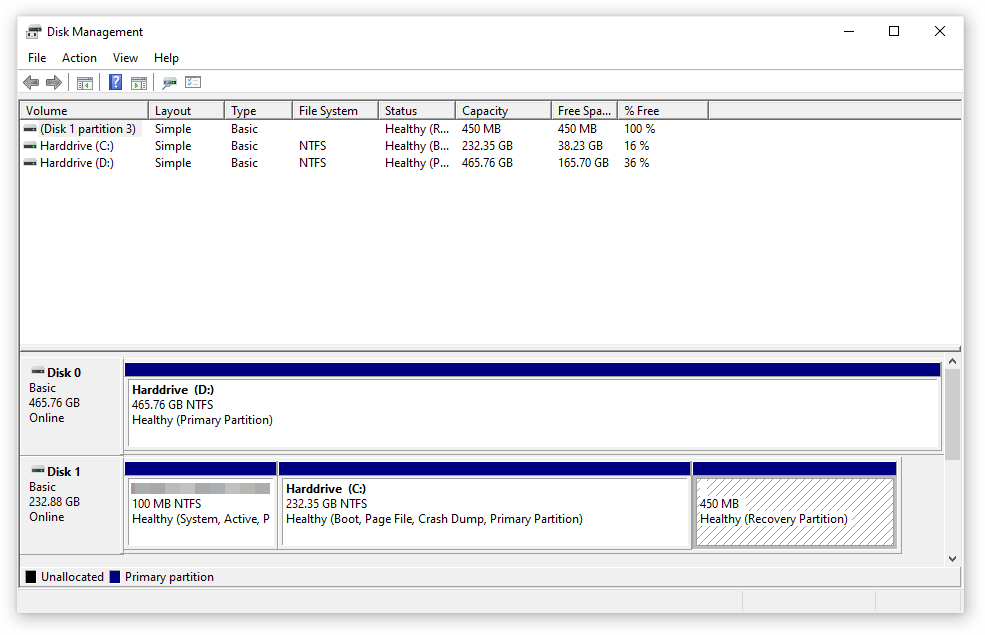
By merging two partitions together into one, you can create a larger hard drive and expand the available space on a partition. This can be extremely useful if your drives are getting full and you need some more space to store files, apps, and whatnot. For example, if your C: drive has little available space left, but the D: drive has plenty, you can merge them together and add the available space together.
If you want to learn how to merge partitions in Windows 10, you're in the right place. Our article has steps for merging partitions using only tools from Microsoft, as well as third-party guides for those who're looking for more.
The easiest and fastest way of merging partitions natively in Windows 10 is using Disk Management. However, alternative applications also exist, most of which are completely free to download and use.
Tip: While these methods were primarily written for Windows 10 devices, they can also be applied to older systems such as Windows 8 and Windows 7 as well. If anyone you know is experiencing similar issues, make sure to share our guide with them!
Below are two separate guides that focus on merging partitions together in Windows 10. Choose whichever way you prefer — there’s no right or wrong here.

Jump to Solutions
- Reasons to Merge Partitions in Windows 11/10
- Method 1: Merge partitions using Disk Management in Windows 10
- Method 2: Merge partitions with a third-party application without losing data
Reasons to Merge Partitions in Windows 11/10
Merging partitions is the behavior of combining two partitions into a bigger one. It's increasingly popular nowadays since it is convenient. You can enjoy merging partitions on one or more hard drives. According to the needs of users, there are three main reasons for them to merge partitions in Windows.
1. To Increase Free Space
It's quite common that you find one or more partitions on your computer hard drive is out of space, especially the C drive. To extend the system partition or data partition, the first method that comes into your mind is to merge partitions, which enables you to add more free space to the source drive.
2. To Save Files More Conveniently
Users, especially game players, prefer not to partition a hard drive for saving the game data, which is always measured by gigabytes, more easily one a single hard drive. However, most of the hard drives on computers are pre-partitioned by the manufacturers. Therefore, most of them decide to merge partitions.
3. To Locate Files More Quickly
Actually, even if you divide your hard drive into several partitions, you seldom save your files accordingly as you expect. Instead, you store your data randomly on the partitions. That always makes it difficult for you to find the specific file or folder you currently need. To shorten the time you spend searching for files, it's a good choice to decrease the number of volumes by combining partitions.
Method 1: Merge partitions using Disk Management in Windows 10

The Disk Management tool comes with every Windows 10 by default. It can easily be used to merge two partitions into one. However, the route isn't as direct as it is with other, third-party applications.
What you need to do is delete a partition first, then use the Extend Volume option and add the now available space into the other partition. This means that all files stored on the deleted partition will also be deleted. Make sure that you’re okay with this data loss by making a backup before merging partitions together.
Here’s how to merge two partitions together using Disk Management.
- Open the Disk Management tool using one of these methods:
- Press the Windows + R keys on your keyboard and type “diskmgmt.msc” into the Run window. Click the OK button to launch the Disk Management tool.
- Press the Windows + X keys on your keyboard and choose the “Disk Management” option from the context menu.
- Open the File Explorer and right-click on “This PC,” then navigate to Manage → Computer Management → Storage → Disk Management.
- Locate the volumes you want to combine and select one of them which you will delete. For example, when merging the C: and D: partitions, you want to delete whichever doesn’t have Windows 10’s system files on it.
- Right-click on the partition you’re deleting and click “Delete Volume.”
Warning: The data from this partition will be deleted. Once again, make sure to create a backup of your files if you want to keep them.
- After the volume is deleted, right-click on your system partition and select “Extend Volume.”
- Follow the on-screen instructions and merge the two partitions together by using the now unallocated space.
Method 2: Merge partitions with a third-party application without losing data

If you’d prefer to keep the data from both partitions you’re merging together, its a better option to use a third-party application. In this guide, we’ll be using AOMEI Partition Assistant Standard to demonstrate the process, however, many other applications are available for this purpose.
Want more options? Don’t worry, we have you covered. Here are a few of the other free partition management applications we recommend using to merge partitions on Windows 10:
- EaseUS Partition Master Free
- Mini Tool Partition Wizard
- GParted Disk Partition
- Paragon Partition Manager
Once you’ve chosen the application that suits your needs, simply download it and run the installer file to gain access to the app’s features. Now you can proceed to the guide below.
- Open the partition manager application of your choice. Again, we’ll be using AOMEI Partition Assistant Standard. This application is available for free download by clicking here. You can also choose to purchase the Professional edition for more advanced features.
- When in the application, right-click on the partition you want to merge and select “Merge Partitions” from the context menu.
- Select the other partition you want to merge, then click on the OK button.
Note: You can only merge two partitions at a time. However, you can merge two or more parts of unallocated space into a partition as well. It’s also important to note that you can merge a data partition into the system boot drive, but you can’t merge the system boot drive into a data partition.
- Confirm the settings, then click on the “Apply” button.
- Click “Proceed” to begin the merge process.
Conclusion
We hope that our article was able to help you learn how you can marge partitions in Windows 10. Make sure to recommend us if you know anyone else that needs help with this issue!
If you’re looking for a software company you can trust for its integrity and honest business practices, look no further than SoftwareKeep. We are a Microsoft Certified Partner and a BBB Accredited Business that cares about bringing our customers a reliable, satisfying experience on the software products they need. We will be with you before, during, and after all the sales.