
Both Windows 10 and 8 users have noticed their computers turning extremely slow even while running a few applications at a time. Imagine you’re in this scenario, then open your Task Manager to check what’s causing the issue, only to be faced with a mysterious process called wsappx. This process can hog upwards of 80% of your CPU usage, causing devastating a slow-down in your device.
The first question that comes to mind is “What is wsappx?” and “How can I fix the high disk usage of wsappx?” which are both valid things to worry about in this scenario. Our article focuses on answering both of those questions, providing you with the solution to your wsappx issues.
Jump to Section:
- So, what is the wsappx process?
- How to fix high disk/CPU usage caused by wsappx
- Method 1. Increase your virtual memory
- Method 2. Disable the Windows Store via Group Policy Editor
- Method 3. Disable the Windows Store via Registry Editor
- Method 4. Change the value of AppXSvc in the Registry
- Method 5. Run the chkdsk command
So, what is the wsappx process?
Despite hogging up your resources, the wsappx process is a vital part of your Windows operating system. There are two services in particular that depend on this process, namely the Windows Store and the Universal Windows Platform (UWP).
It’s main purpose and focus is the Windows Store. It’s responsible for handling, installing, deleting, and updating the applications you purchase and download via the Windows Store. However, there’s no need for the process to constantly run on your device unless you’re installing or updating Windows Store apps.
When expanding the wsappx category, you’ll see two sub-entries displayed: AppX Deployment Service (AppXSVC) and Client License Service. These are part of the service, providing infrastructure support for the Microsoft Store and Store application.
To sum it up, wsappx is a necessary process that runs on your device in order to make the Windows Store and Store apps run. It’s not dangerous, however, it may cause slow-downs due to errors with the process.
How to fix high disk/CPU usage caused by wsappx
Method 1. Increase your virtual memory
If your virtual memory is poorly configured, it could cause the wsappx process to use up most of your available resources, when in reality, there’s still more than enough for your computer to function. Here’s how you can make sure you’ve increased your virtual memory to the ideal amount.
-
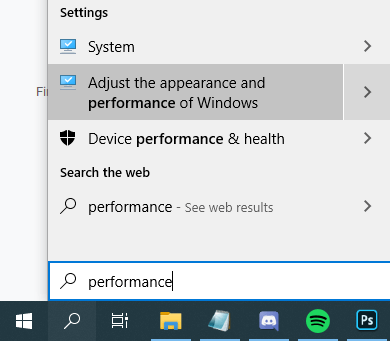
Press the Windows + S keys on your keyboard at the same time to open the search function. Here, type in “performance” and choose Adjust the appearance and performance of Windows.
-
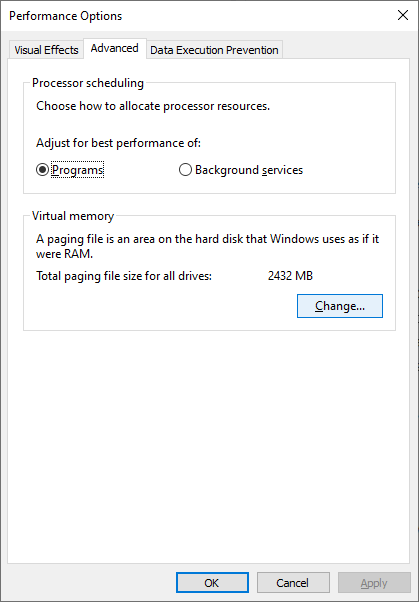
The Performance Options window will open up. Switch to the Advanced tab, then click on the Change button in the Virtual memory section.
-
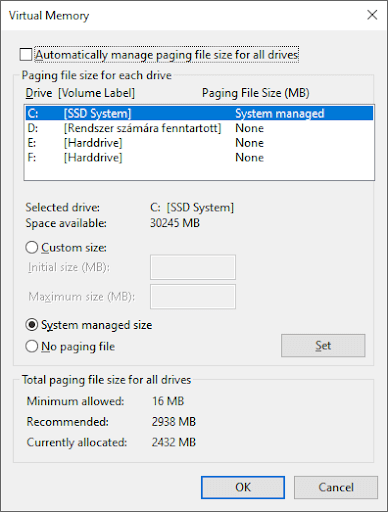
Before being able to make any changes, you need to uncheck the Automatically manage paging file size for all drives option.
-
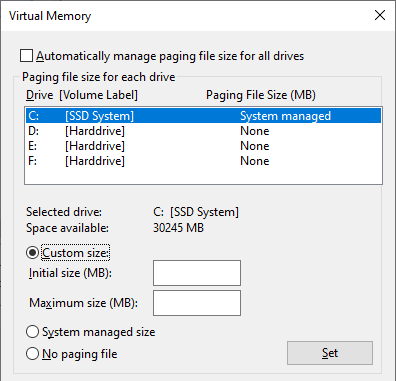
Select the drive your Windows system is installed on, then click on the Custom size option.
-
Set the Initial size equivalent to the size of your RAM measured in MB. Set the Maximum size to double of the first number.

- Click the Set button to finalize your changes. Restart your device and see if you still experience issues with the wsappx process.
Method 2. Disable the Windows Store via Group Policy Editor
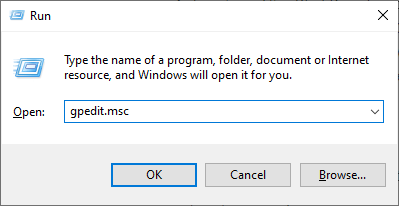
- Press the Windows + R keys on your keyboard to launch the Run application.
-
Type in gpedit.msc and hit the OK button. This will open up the Group Policy Editor.
- Navigate to the following path: Computer Configuration > Administrative Templates > Windows Components > Store
-
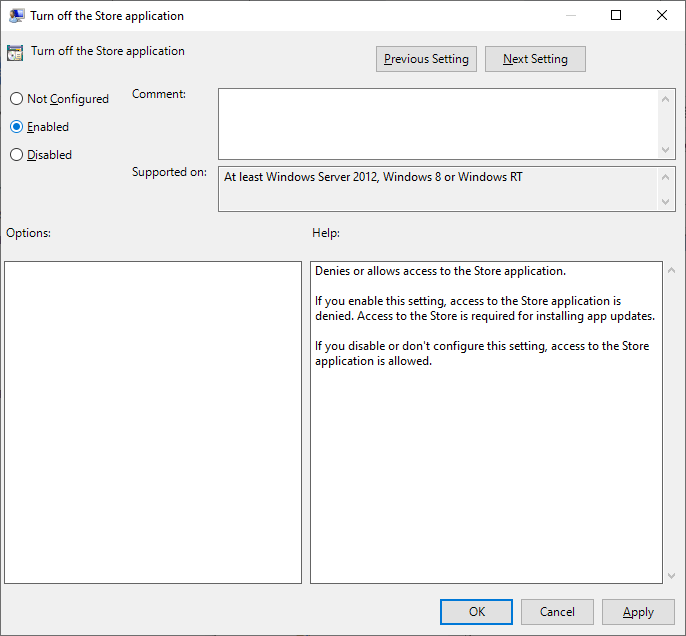
Double-click on the Turn off the Store application option.

-
Select Enabled, then click the OK button.
- Restart your computer and check if you still have the same issues with wsappx.
Method 3. Disable the Windows Store via Registry Editor
- Press the Windows + R keys on your keyboard to launch the Run application.
-
Type in regedit and hit the OK button. This will open up the Registry Editor.

- Navigate to the following key using the left side pane: HKEY_LOCAL_MACHINE\SOFTWARE\Policies\Microsoft\WindowsStore
-
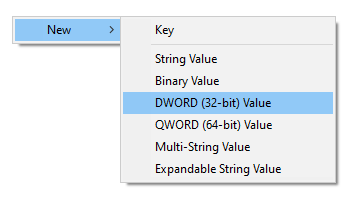
Right-click on any empty space, then select New > DWORD (32-bit) Value. Name it RemoveWindowsStore.
- Double-click on the RemoveWindowsStore key, then type 1 into the Value data field. Click the OK button to finalize the change.
- Restart your computer and check if you still have the same issues with wsappx.
Method 4. Change the value of AppXSvc in the Registry
- Press the Windows + R keys on your keyboard to launch the Run application.
-
Type in regedit and hit the OK button. This will open up the Registry Editor.
- Navigate to the following key using the left side pane: HKEY_LOCAL_MACHINE\SYSTEM\ControlSet001\Services\AppXSvc
- Double click on the Start value, then set its Value data to 4. Click the OK button to finalize your change.
- Close the Registry Editor and restart your computer and check if you still have the same issues with wsappx.
Method 5. Run the chkdsk command
If none of the methods above worked, try running a command to repair your PC. The chkdsk command, also known as Check Disk, attempts to identify and get rid of disk issues, which may help you with resolving issues with wsappx.
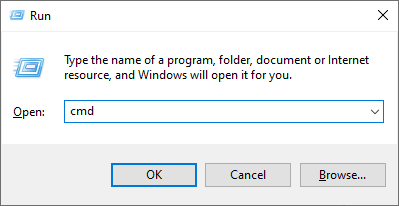
- Press the Windows + R keys on your keyboard. This is going to bring up the Run utility.
-
Type in “cmd” and press the Ctrl + Shift + Enter keys on your keyboard. Doing so, you’re launching the Command Prompt with administrative permissions.
- If prompted, click Yes to allow the Command Prompt to make changes on your device.
-
Once in the Command Prompt, type in the following command and press Enter to execute it: chkdsk C: /f /r /x
- This command is going to check the C: drive. If your Windows 10 has been installed on a different drive, make sure to modify the command accordingly by replacing “C:”.
- Wait for the Check Disk command to finish running. It’ll attempt to fix issues with the drive and recover any readable information.
- Restart your device and see if you still experience issues with the wsappx process.
We hope that this article was able to help you troubleshoot the wsappx process causing high Disk/CPU usage on your computer. If you ever run into any issues with the process in the future, make sure to come back to our page and try to apply a different fix.