One of the most frustrating issues you can encounter is when your mouse highlights everything on the screen when you click on something. This can be incredibly annoying if you are trying to select a specific portion of text or an image. This is a common issue that makes using specific programs or opening files much more complicated than they need to be.
Fortunately, you can take some easy steps to fix this problem and get your mouse to behave normally again. In this blog post, we will examine why your mouse might behave this way and provide solutions to fix the issue.
Jump To
- How to Fix the Mouse Highlighting Problem on Windows
- Clean Your Mouse
- Update Your Mouse Driver
- Reinstall Your Mouse Driver
- Use the Hardware and Devices Troubleshooter
- Adjust Your Mouse Settings
- Disable Sticky Keys
- Disable Clicklock
- Run the System File Checker
- Run DISM
Why Does My Mouse Select Everything When I Click?
There are several reasons why your mouse may highlight everything when you click on it. The most common causes are:
- Mouse Button: If your mouse button is malfunctioning, it can cause it to register multiple clicks, resulting in everything becoming highlighted.
- Dirty or Damaged Mouse Sensor: If your mouse sensor is dirty or damaged, it can cause it to misread your movements and register multiple clicks, resulting in everything becoming highlighted.
- Software Issues: If there is a problem with your mouse driver or settings, it can cause it to register multiple clicks, resulting in everything becoming highlighted.
After identifying the cause of the problem, you can then move on to finding the solution. We recommend first testing if your mouse works well on other computers, as this will help you identify if the issue lies with your mouse or system.
How to Fix the Mouse Highlighting Problem on Windows
Now that you know what's causing the issue, let's look at how to fix it. Here are the steps you should follow:
1. Clean Your Mouse
Over time, dirt and debris can accumulate on your mouse, causing it to malfunction. First, you need to unplug the mouse to clean it. Use a cotton swab and rubbing alcohol to remove dirt and debris from the mouse. Use a can of compressed air or a vacuum cleaner to remove any dirt or dust from the sensor and buttons.
Once you've cleaned it thoroughly, let it dry before plugging it back in and turning your computer on. See if this has resolved the issue.
2. Update Your Mouse Driver
Outdated or faulty mouse drivers can cause many issues, including the highlighting problem. Updating your driver to the latest version can help fix this issue. New driver versions always aim to fix existing bugs and errors and improve your mouse's compatibility with the system.
You can either manually update the driver using these simple steps:
-
Click on the search icon located in the taskbar and type in "Device Manager." Then, select the first result that appears.
-
Once in the Device Manager, find the "Mice and other pointing devices" category, click on the arrow to expand it, and then right-click on the mouse driver that you wish to update.
- Select "Update driver" from the drop-down list and follow the on-screen instructions to complete the process.
3. Reinstall Your Mouse Driver
If updating your mouse driver doesn't fix the problem, you may need to reinstall it entirely. This is sometimes necessary because the driver is corrupted or missing essential files. To reinstall the driver, you need to use the Device Manager.
- Click on the search icon located in the taskbar and type in "Device Manager." Then, select the first result that appears.
- Once in the Device Manager, find the "Mice and other pointing devices" category, click on the arrow to expand it, and then right-click on the mouse driver that you wish to reinstall.
-
Select "Uninstall device" from the drop-down list and follow the on-screen instructions to complete the process.

- Restart your computer. Windows will automatically install a fresh copy of the necessary driver for your mouse.
4. Use the Hardware and Devices Troubleshooter
Windows has a built-in troubleshooter to help you identify and fix hardware issues. This method will show you how to use the "Hardware and Devices troubleshooter" to resolve the mouse highlighting problem.
In recent Windows 10 updates, as well as in Windows 11, this troubleshooter is no longer accessible from the traditional menu. To run it, you can use the Command Prompt.
-
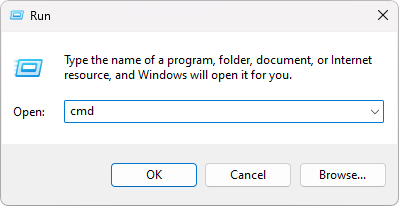
Press the Windows + R keys on your keyboard to bring up the Run utility. Type “cmd” without the quotes and press the OK button.
-
Copy and paste the following command into the Command Prompt, and then press the Enter key on your keyboard to execute it: msdt.exe -id DeviceDiagnostic
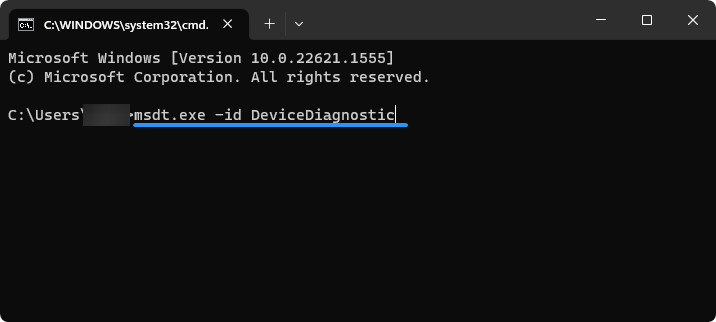
- Follow the on-screen instructions to start troubleshooting and diagnose any issues with your mouse.
5. Adjust Your Mouse Settings
Some native Windows settings may be misconfigured on your device, causing the mouse to highlight everything when clicked. To fix this, you need to check and adjust the settings for your mouse. Take a look at the following settings and make sure they are set correctly:
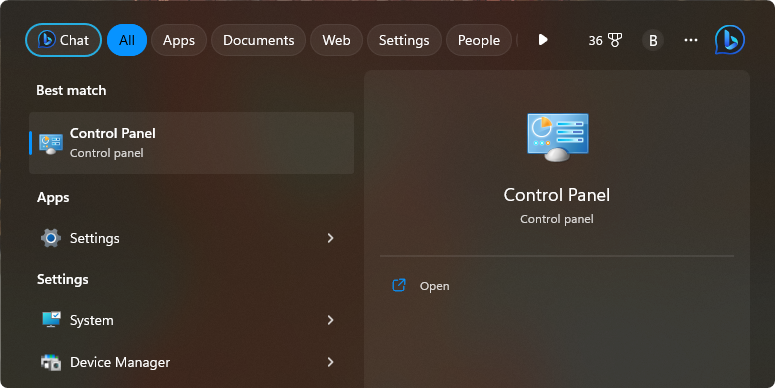
- Open the Windows Search interface from your taskbar, or by pressing the Windows + S keyboard shortcut.
-
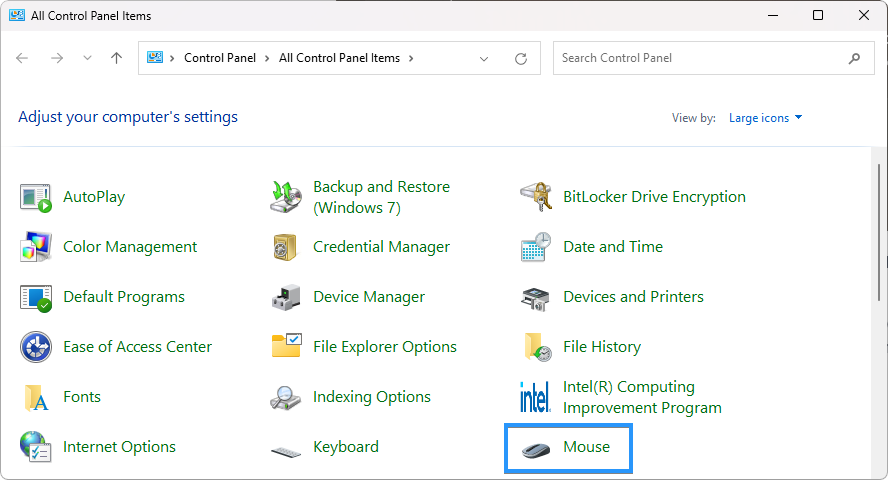
Look for “Control Panel” and launch the application from the matching search results.
-
Ensure your view mode is set to “Large icons,” then click on the “Mouse” menu. A new pop-up window should appear on the screen.
-
Stay on the “Buttons” tab. Ensure you have the “Double-click speed” set to somewhere around the middle of the slider. Having the slider too high will cause your mouse to double-click frequently, selecting everything on the page.
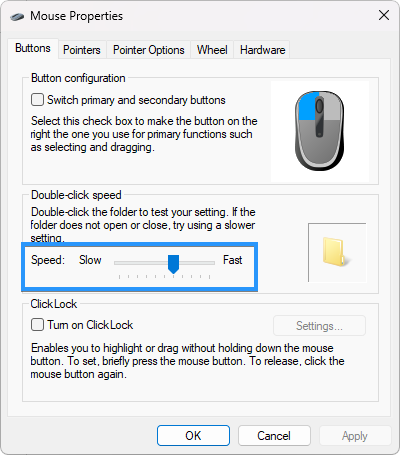
- Click “Apply” to finalize your changes.
6. Disable Sticky Keys
Sticky Keys is a Windows feature that can cause problems with your mouse. The feature was initially added to Windows to make it easier for people with physical disabilities to use the keyboard and mouse. However, it can also cause your mouse to highlight everything when clicked if you're not using Sticky Keys the intended way.
- Click on the "Start" menu button, located in the bottom left corner of your screen, and select "Settings." Alternatively, use the Windows + I keyboard shortcut.
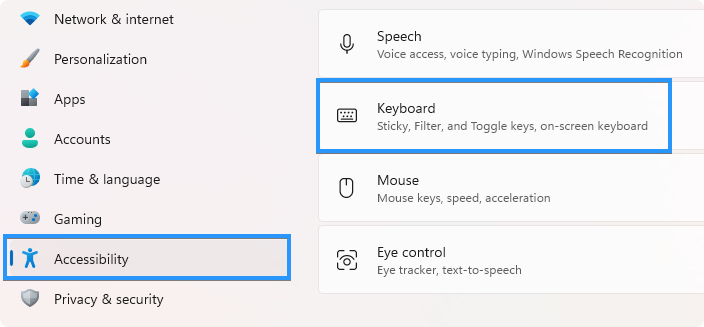
-
Next, choose "Accessibility" from the menu on the left. Then, select "Keyboard" on the right.
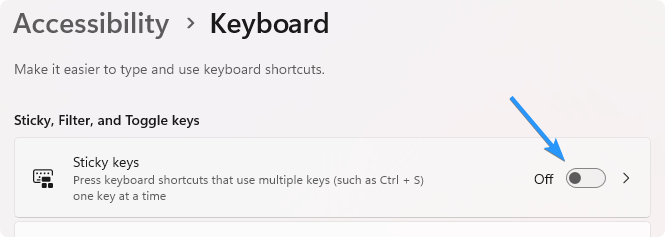
-
Finally, uncheck the box next to " Sticky keys" to turn it off.
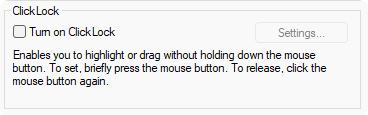
7. Disable ClickLock
Another accessibility feature is ClickLock, which can cause your mouse to highlight everything when clicked. This feature prevents accidental double clicks and makes it easier for people with motor disabilities to use the mouse. Ensure this feature is disabled to stop your mouse from highlighting everything when clicked.
- Open the Windows Search interface from your taskbar, or by pressing the Windows + S keyboard shortcut.
- Look for “Control Panel” and launch the application from the matching search results.
- Ensure your view mode is set to “Large icons,” then click on the “Mouse” menu. A new pop-up window should appear on the screen.
-
Make sure that the “Turn on ClickLock” option is not selected.
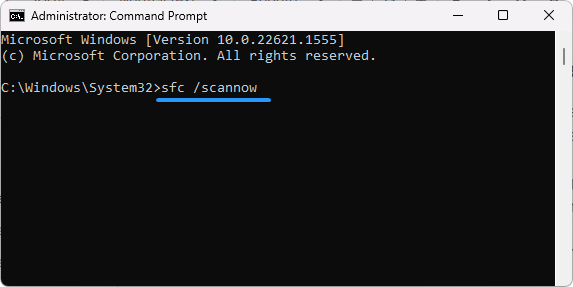
8. Run the System File Checker
One built-in troubleshooting tool with Windows is the System File Checker (SFC) scan. This utility is used for scanning and fixing any errors or corruptions in the system files. If you are experiencing an issue where everything is highlighted when you click the mouse, it might be caused by corrupt system files. You can fix this issue by running the SFC scan to correct system file errors.
- Use the Search function in your taskbar, and look for “Command Prompt.” Launch the app from the search results by clicking “Run as administrator.” Note that you need an administrator account to do this.
- Click “Yes” when prompted. This will launch the Command Prompt with elevated permissions.
-
After the Command Prompt loads, input the following command, and then press the Enter key on your keyboard to execute it: sfc /scannow
- Wait for the System File Checker to check your system files. This may take up to several minutes, depending on the speed of your computer. If the scan detects any issues with your system files, it will automatically fix them.
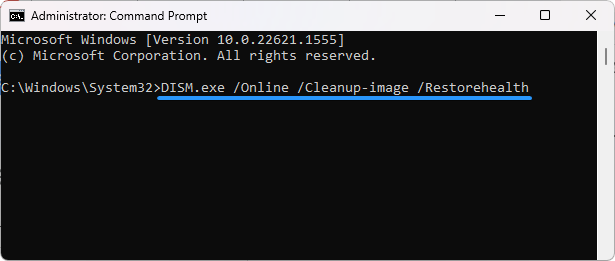
9. Run DISM
The Deployment Image Servicing and Management (DISM) tool is a powerful command-line tool that can fix various Windows issues. You can use it to fix problems related to the mouse highlighting the problem, such as corrupt system files or misconfigured settings.
- Open the search bar in your taskbar (or press Windows + S) and then type in Command Prompt. When you see it in the results, right-click it and choose Run as Administrator.
- When the User Account Control (UAC) prompt appears, click Yes to grant the app administrative privileges.
-
Type in the following command and press Enter to execute it: DISM.exe /Online /Cleanup-image /Restorehealth
- Once you have run the command, allow the process to complete.
Conclusion
In conclusion, the issue of the mouse highlighting everything when clicking can be a frustrating and time-consuming problem to deal with. Fortunately, there are several methods that you can use to fix this issue, ranging from cleaning your mouse to updating your drivers, adjusting your settings, and disabling certain Windows features.
By following the step-by-step instructions in this article, you should be able to identify the cause of the problem and find a solution that works for you. If you're still dealing with mouse issues, your hardware may cause the problem. You may need to buy a new mouse or clean and maintain your existing one to prevent further issues.
One More Thing
We’re glad you’ve read this article. :) Thank you for reading.
If you have a second, please share this article on your socials; someone else may benefit too.
Subscribe to our newsletter and be the first to read our future articles, reviews, and blog post right from your inbox. We also offer deals, promotions, and updates on our products and share them via email. You won’t miss one.