If you're an Omegle user, you hate to see the "Error connecting to server. Please try again" message. This error message can be frustrating, but it doesn't mean your Omegle session is over. There are several methods for troubleshooting this issue. In this post, we'll walk you through each step so you can get back to chatting in no time!
Omegle offers a convenient way for users to communicate, giving them the freedom of anonymity in one-on-one conversations. The website randomly pairs two strangers together and allows them to engage in anonymous dialogue.
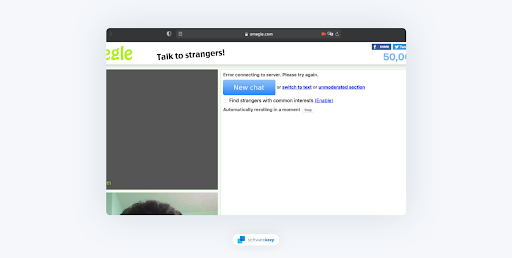
Even Omegle, one of the most user-friendly websites out there, can experience technical difficulties every now and then. One of the issues many users face when using this website is an error message saying “Error connecting to server. Please try again” - how frustrating!
In this article, we'll provide you with the best solutions to resolve your Omegle server connection issues with various options. Don't worry if you don't know how to fix it; use the instructions we have listed and get back up and running in no time!
Jump To:
- What Causes “Error Connecting to Server. Please Try Again” on Omegle?
- Solution 1: Check Your ISP’s Status
- Solution 2: Check Omegle’s Server Status
- Solution 3: Restart Your Router
- Solution 4: Use a Different Device
- Solution 5: Clear Your Browser Cache
- Solution 6: Reset Your Network Configuration
- Solution 7: Use a VPN
What Causes “Error Connecting to Server. Please Try Again” on Omegle?
If you are seeing the "Error connecting to server. Please try again" message while using Omegle, there could be a few potential explanations behind it:
- Your IP address was blocked or put on the blacklist by Omegle, preventing you from connecting to their server.
- Omegle is facing a technical problem on the server side, and there is no way for you to rectify it manually.
- You are unable to access Omegle due to an obstruction on the part of your system or Internet Service Provider.
- Your browser or network settings are not properly configured.
How To Fix “Error Connecting to Server. Please Try Again” on Omegle
Here are the best solutions to help you fix the Omegle error message “Error connecting to server. Please try again”.
1. Check Your ISP’s Status
The first thing you should do when running into this error is to check the status of your Internet Service Provider (ISP). If there are any outages or service interruptions, then you may be unable to access Omegle until they resolve the issue.
You can easily check this by visiting your ISP's website and checking their system status page. It should provide information on whether or not there are any issues in your area. If it appears that they are not experiencing any problems, then you can proceed to the next step of troubleshooting.
2. Check Omegle’s Server Status
Even if your ISP is up and running, the problem could still be with Omegle's server. To determine if this is the case, visit their website or social media page to check their status. This should indicate whether or not they are experiencing any issues on their end. You can also check a service such as Is It Down Right Now to check if other users are having the same issue.
If Omegle's servers are down for maintenance or repairs, there is nothing you can do but wait until they are back up and running again.
3. Restart Your Router
Did you know that simply rebooting your router may resolve a variety of internet issues? Give it a try - surprisingly, rebooting can really make a difference! Here's how to do it:
- Locate the power button on your router and turn the device off.
- Wait for a few minutes. We recommend waiting anywhere between 3 to 5 minutes to allow your router and network to shut down properly.
- Turn your router back on.
4. Use a Different Device
It's possible that the "Error connecting to server. Please try again" message is only appearing on one device, while the other devices connected to your network are working just fine. If this is the case, then you can simply switch over to a different device and try accessing Omegle from there.
This will also help you identify whether your IP was blocked or not. If the other device can access Omegle without any problems, then it's likely that your IP address isn't blocked by Omegle, so you don't have to worry about that.
5. Clear Your Browser Cache
If you're having trouble with Omegle, it may be time to clear out those pesky cache files! Whether you use Google Chrome, Mozilla Firefox, Microsoft Edge, or any other web browser, the process of clearing these temporary files may help resolve the "Error connecting to server. Please try again" issue. To do this in a few easy steps:
- Open the search bar in your taskbar by clicking on the magnifying glass icon. You can also bring it up with the Windows + S keyboard shortcut.
- Type Command Prompt in the search box. When you see it in the results, right-click on it and choose Run as Administrator. When prompted by the User Account Control (UAC), click Yes to allow the app to launch with administrative permissions.
-
Input the commands below in the following order, pressing the Enter key on your keyboard after each line:

- ipconfig /flushdns
- ipconfig /registerdns
- ipconfig /renew
- ipconfig /release
- Close the Command Prompt and open any web browser. Check if you’re able to access Omegle without running into the same error.
How to Clear Browsing Data in Google Chrome
If you use Google Chrome for browsing, follow the steps below to clear your browsing data.
-
Click on the More icon (the three dots placed vertically next to your Chrome user icon), and then hover over More tools. Select Clear browsing data from the drop-down menu.
-
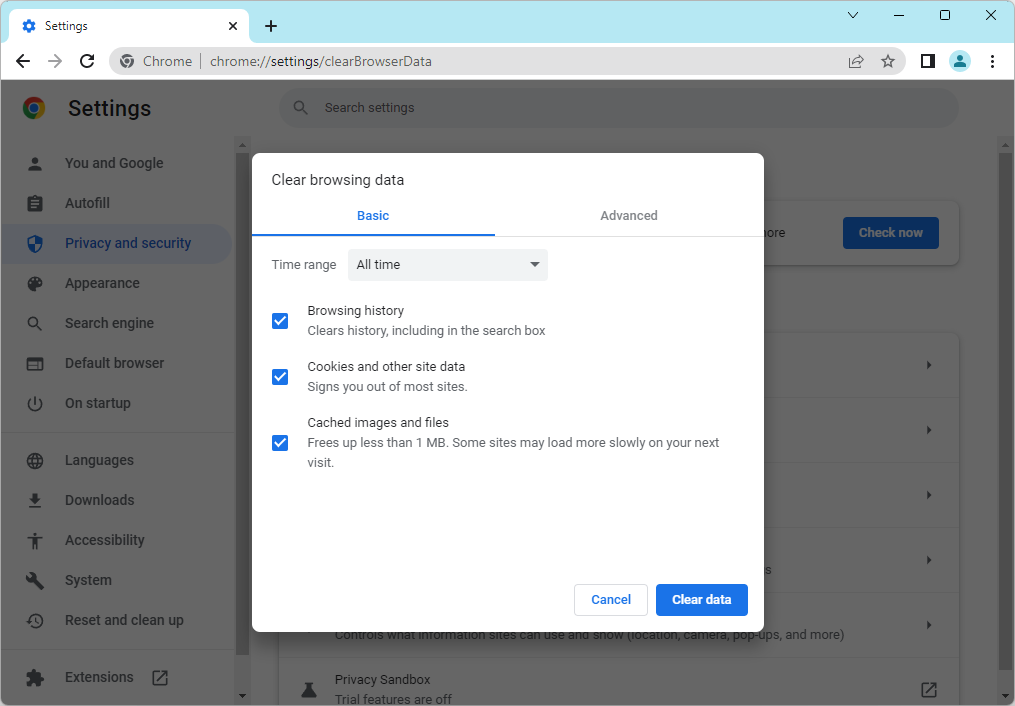
Make sure the time range is set to All time, and then enable all of the following options:
- Browsing history
- Cookies and other site data
-
Cached images and files
- Click on the Clear data button. After the process is over, restart Google Chrome and check if this helped you resolve the problem.
How to Clear Browsing Data in Firefox
If you use Mozilla Firefox for browsing, follow the steps below to clear your browsing data.
-
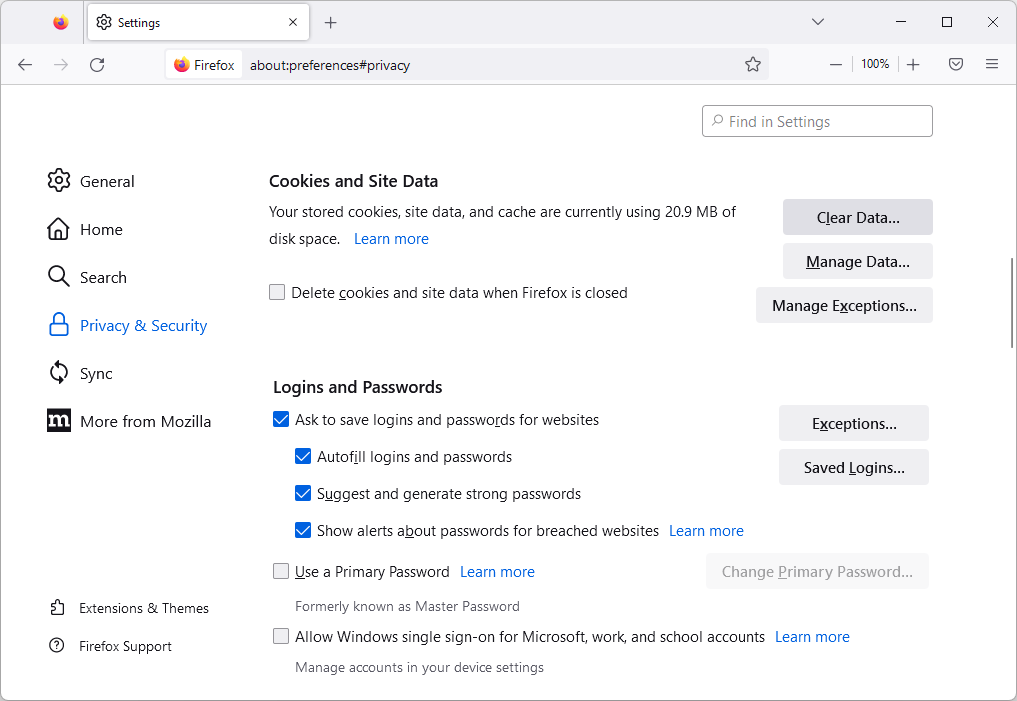
Type about:preferences#privacy into the address bar and press the Enter key on your keyboard. You’ll be redirected to Firefox’s settings page.
-
Scroll down to the Cookies and Site Data section. Here, click on the Clear Data button.
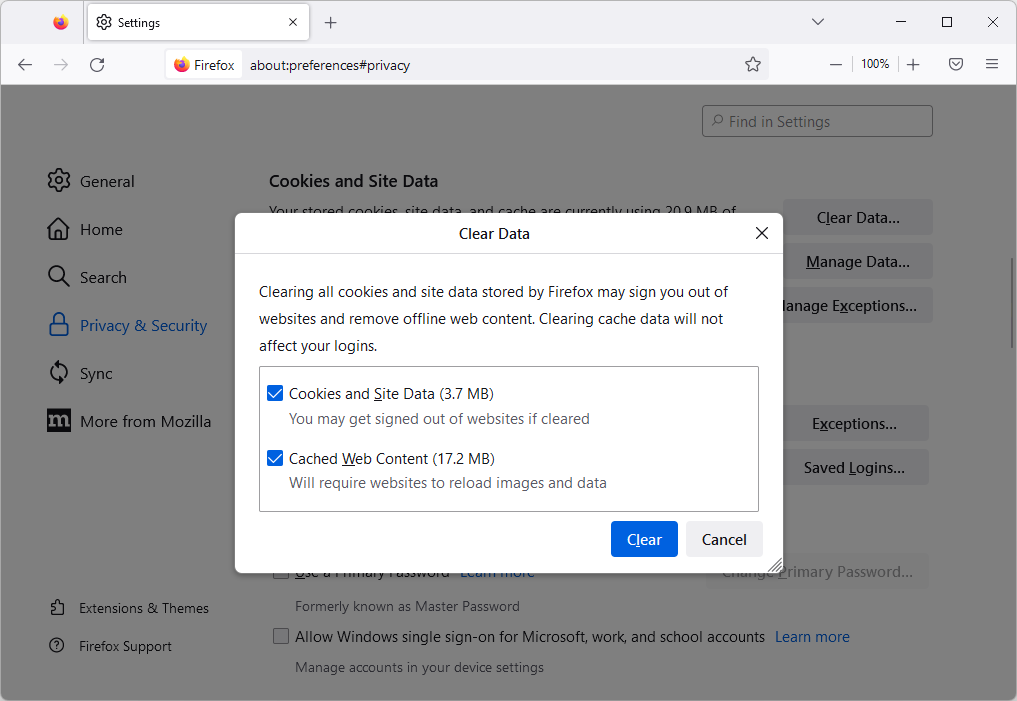
-
Select both Cookies and Site Data and Cached Web Content, and then click on the Clear button to proceed. Wait for Firefox to process your request and delete the data.
- Restart your browser after the task has concluded.
How to Clear Browsing Data in Microsoft Edge
If you use Microsoft Edge for browsing, follow the steps below to clear your browsing data.
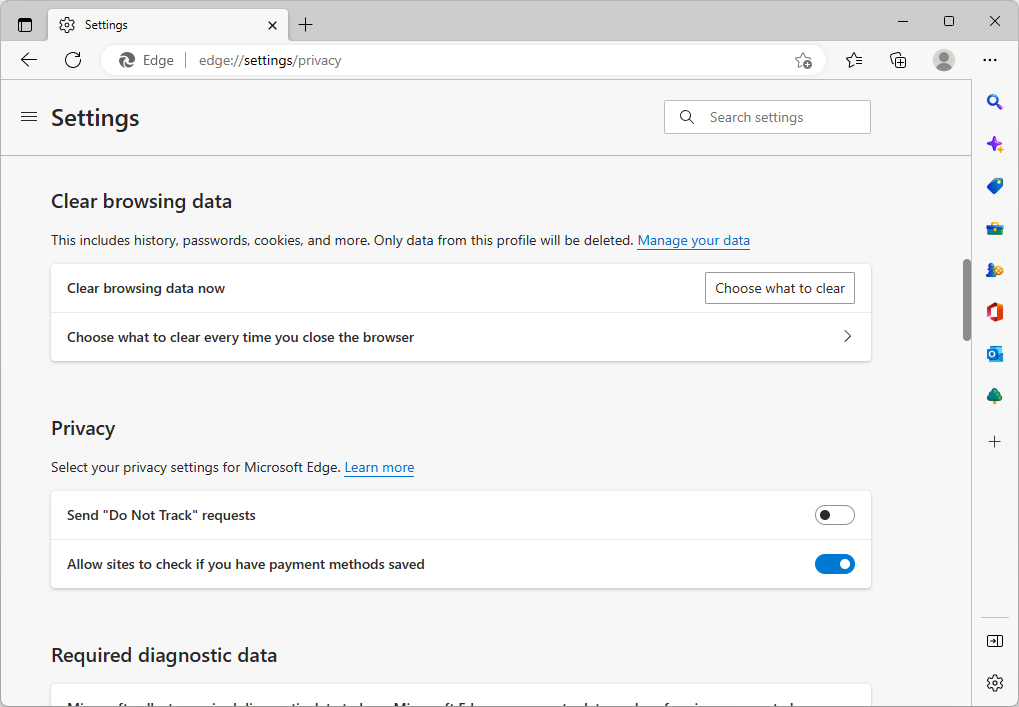
- Click on the Edge menu button in the top-right corner of the browser, and then click on Settings from the available options.
- Switch to the Privacy, search, and services tab using the pane on the left side. Here, scroll down until you see the Choose what to clear button, and then click on it.
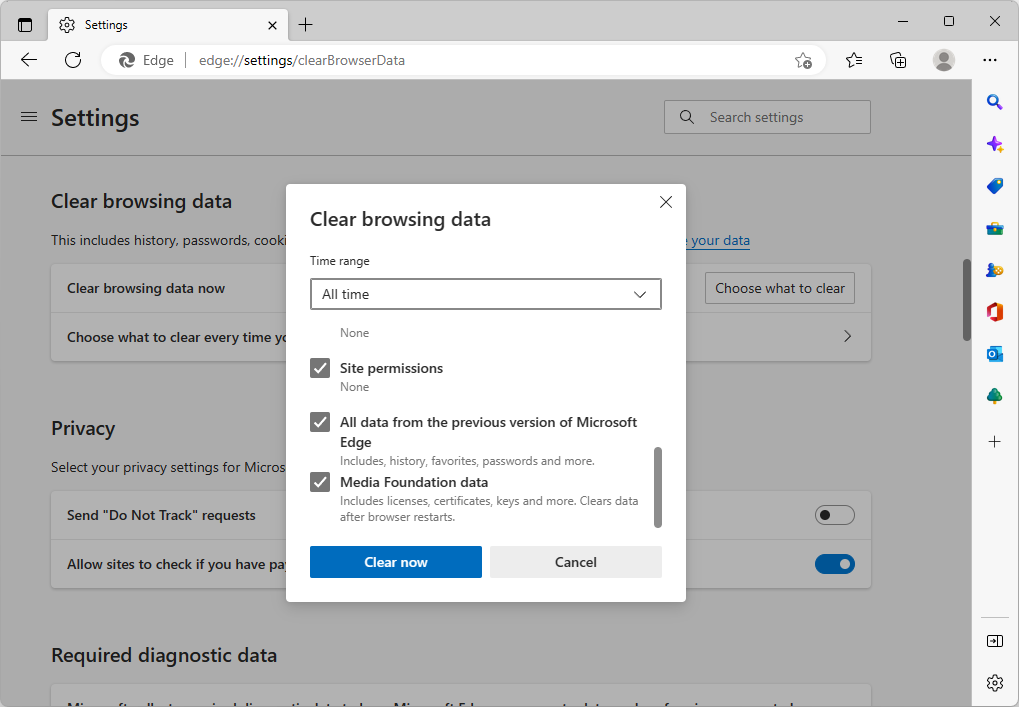
- Make sure to set the time range to All time.
- Select Browsing history, Download history, Cookies and other site data, and Cached images and files then press the Clear now button.
- Wait for the process to finish, and then test if the same error occurs when you browse with Edge.
6. Reset Your Network Configuration
Releasing and refreshing your IP address as well as flushing out your DNS cache is an efficient way of rectifying most network-related issues. To do it, you'll need to use the Command Prompt. It's fairly straightforward, but it's important to follow the instructions carefully:
- Open the search bar in your taskbar by clicking on the magnifying glass icon. You can also bring it up with the Windows + S keyboard shortcut.
- Type Command Prompt in the search box. When you see it in the results, right-click on it and choose Run as Administrator. When prompted by the User Account Control (UAC), click Yes to allow the app to launch with administrative permissions.
-
Input the commands below in the following order, pressing the Enter key on your keyboard after each line:
- netsh winsock reset
- netsh int ip reset
- After executing the commands, restart your computer and see if the error has been fixed when using Omegle.
7. Use a VPN
If none of the solutions above worked in your case, it's becoming likely that Omegle has blocked or blacklisted your IP address. If that's the case, you can use a Virtual Private Network (VPN) to circumvent Omegle's restrictions and get back in.
A VPN is basically a secure tunnel that encrypts your data and routes it through another server. This allows you to access websites and services without revealing your true IP address or location. There are many different VPN services available, so make sure to do your research and pick one that suits your needs.
Conclusion
We hope these steps were able to help you fix the Omegle error message “Error connecting to server. Please try again”. If you still can't get Omegle working properly, please reach out to the website or the service provider for further assistance. Good luck!
One More Thing
We’re glad you’ve read this article. :) Thank you for reading.
If you have a second, please share this article on your socials; someone else may benefit too.
Subscribe to our newsletter and be the first to read our future articles, reviews, and blog post right from your inbox. We also offer deals, promotions, and updates on our products and share them via email. You won’t miss one.
Related Articles
» How To Fix Camera Not Working on Omegle
» How To Fix the “DNS Server Unavailable” Error Message
» Fix “Access Denied, You Don’t Have Permission To Access on This Server” on Windows