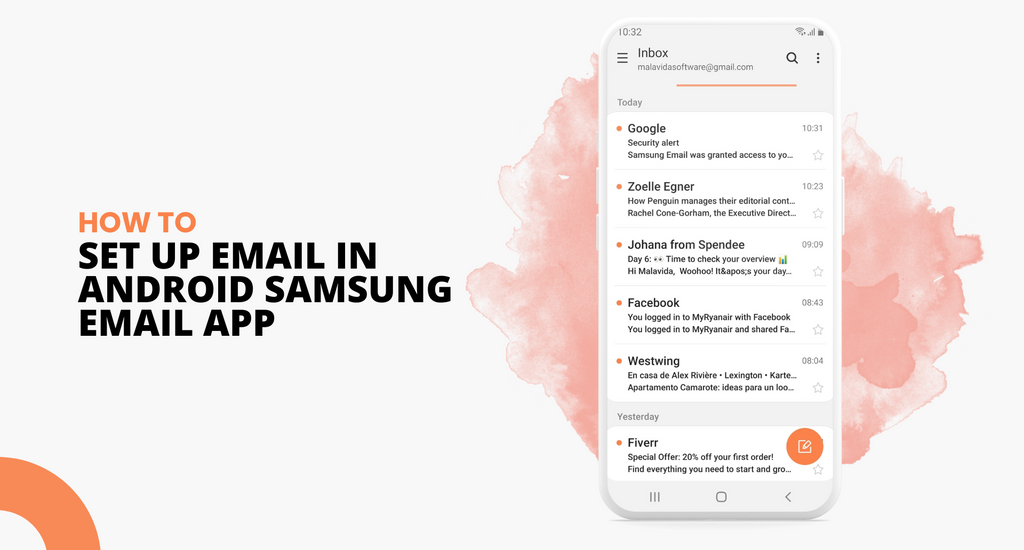
If you use Outlook for your main email account and have an Android or Samsung smart device, setting up your mobile email is easier than you might think. This guide will show you how in a few simple steps.
Before reading, though, remember – depending on your device, your email app might look a little different than what is described in these instructions.
How to Set up Gmail App on (Android devices)
If your phone or smart device is an Android, your default email app will most likely be Gmail – but that does not mean you need a Gmail account to use it. You can easily have access to your Outlook account through the app.
Step 1: Open Gmail app
Open the Gmail app by selecting the icon on your screen. Then go to the app menu, select “Settings” and then “Add Account”. You will see various email server options. Select “Exchange and Office 365.”

Be careful here – you will see two Outlook icons on the list. Make sure you select "Exchange and Office 365" and not "Outlook, Hotmail and Live". That option will not allow you to sync your contacts, calendar, and other apps through Outlook.

Step 2: Enter your password
Enter your email address and password.

Step 3: Redirect your emails to Office 365
If you have an Office 365 account, you might be redirected to your server settings page. If you are, all you have to do is change your server to outlook.office365.com. You will then be able to continue with the rest of the steps.
If you have an Exchange or another type of Outlook account (aside from Outlook.com) there is a chance you might have to talk with your IT provider about your server settings and set up your account manually from this point forward.
Step 4: Notice prompts
You will probably see some prompts on your screen. These are to adjust security settings and grant permission for syncing on to your device. Just follow the instructions as they appear.
At this point, if you have an Office 365 account through your work or university, you may be redirected to your institution’s website, or be prompted to grant remote access. Select “okay” if that is the case.
Step 5: Set up
Your email should be set up now. Open your inbox and check to see if you have received an email that reads “Action Required to Sync Email”. If that message is not in your inbox, your emails should be syncing.
If the message is in your inbox, open it and you will see two options: “Get Outlook for Android” and “Use another Mail app instead”. Select the second option, and your emails should start syncing from there.
Step 6: Allow sync
Check your notifications by pulling down on the top bar on your home screen. You might see a little Gmail notification that says “Unable to sync calendar and contacts.”
If you see it, all you need to do is open the notification and, when prompted, select “allow.
That should do it! Check that your emails, as well as your contacts and calendar, are syncing on your Android device. If you are still having trouble, you might want to try talking with the manufacturer.
For the Samsung Email app (Samsung devices)
If you have a Samsung smartphone or tablet, you probably have the Samsung Email app pre-installed. Similar to Gmail, all you need to do is follow a few steps to sync your Outlook account with it.
Step 1: Open the Samsung email app
Open the Samsung Email app by selecting the icon on your home screen. Or, head to the app store and see if the app is able to update before you sync.
You should see an option to “Add Account” when you open the app. If you don’t, go to your settings, and you will be able to select it there.
Step 2: Sign In
Enter your email address and your password, then hit “sign-in.” You will probably be taken straight to a series of permissions from there.
Step 3: Choose "Microsoft Exchange Activesync”
On some devices, you may have the option to choose your account type. Make sure you choose “Microsoft Exchange Activesync” before continuing on with the next steps.
Step 4: Allow
You will have to confirm a few permissions and settings – this is just to allow your device to sync with your account. Select “yes” or “okay” on all of them.
Step 5: Set up 2-step verification
In some cases, one of those settings in the step above will allow you to set up two-step verification – if you choose that, you will be taken to the second verification procedure now.
If not, your device should be syncing. Don't be too impatient – it might take some time. You will most likely see a notification when your email, contacts, and calendar have started to sync.
Step 6: Redirect emails to outlook app
You might receive an email that tells you additional action is needed to sync. If you do, it is just to encourage you to download the Outlook app.
Open it and select “Use another Mail app instead” – that should do the trick.
After that, you should be good to go! Make sure to double-check that your calendar and contacts have started syncing.
Watch: Samsung Galaxy Book 3 Pro (14 inch) - TOP Reasons WHY it's FINALLY Pro!
Conclusion
If you’re looking for a software company you can trust for its integrity and honest business practices, look no further than SoftwareKeep. We are a Microsoft Certified Partner and a BBB Accredited Business that cares about bringing our customers a reliable, satisfying experience on the software products they need. We will be with you before, during, and after all the sales.
