Language accessory packs allow you to change your Office’s display language, including of the help section. They also add proofing tools, like spellcheck, in the new language chosen.
Language packs used to be sold separately but these days they can be downloaded directly from Microsoft for free.

To ensure a clean installation of the language pack, you should first make sure all your Office apps are installed first and then install the language pack after. If you try installing Office apps after the language pack has been installed, you may get an error message.
Some language accessory packs may have “partial localization”. This means some parts of the Office may still show in the original language of your Office product, with the rest in the new language from the accessory pack.
Download and Install Language Accessory Packs
Step 1: Check which version and edition of Office you’re using.
- Open any Office application, like Word, and click on the File tab from the menu bar at the top of the window.
- Select Account or Help and look under Product Information. Here you’ll see which version of Office you have.
- To check whether it is a 32-bit or 64-bit edition, click on the About Word section, which will show you more information
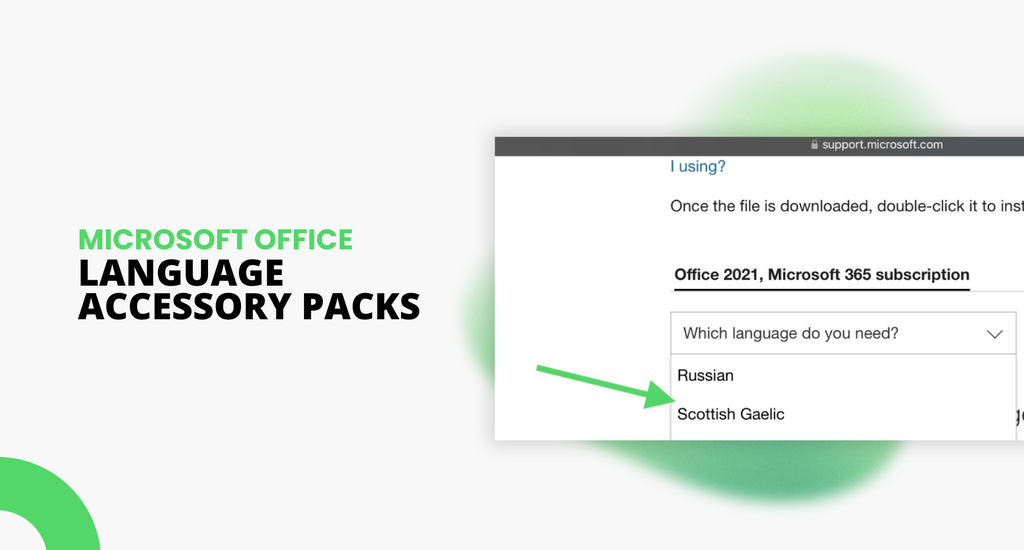
Step 2: Download your language accessory packs directly from Microsoft. Just select which language you need for the version and edition of Office you’re using
Step 3: Install the language accessory pack. Open and run the installation file for the language pack and just follow the instructions
Step 4: After installing the language accessory pack, you need to configure Office for your new language preferences.
- Open any Office application, like Word, and click on the File tab from the menu bar at the top of the window.
- Select Options and then Language.
- Look in the list under Choose Editing Languages for the language you installed. Check the Proofing column to see if the pack includes proofing tools
- Finally, under Choose Display Language, you can change your default Office language display and help settings to your preferred language
Step 5: Restart all your Office applications and they’re good to go in your chosen new language!
Using Language Accessory Packs with new Office apps
Remember if you want to use the language pack with a new Office app you just purchased, you’ll need to uninstall the pack and then reinstall it after you’ve installed the new app.
Step 1: Make sure you remove any new Office language versions created by the language pack for all your current Office apps, leaving just the original version and copy of Office.
Step 2: Install your new Office application. Make sure your new app is in the same language as your original Office product.
Step 3: Reinstall the language pack, following the above instructions. Your chosen language will now also be installed for the new app, along with the others you had before.
If you’re looking for a software company you can trust for its integrity and honest business practices, look no further than SoftwareKeep. We are a Microsoft Certified Partner and a BBB Accredited Business that cares about bringing our customers a reliable, satisfying experience on the software products they need. We will be with you before, during, and after all the sales.