
If you are a Mac user and need to run Windows software or games that are not available on the Mac platform, you can use Parallels to install Windows on your Mac.
Parallels is a software program that allows you to run Windows on your Mac. It creates a virtual machine, or separate environment, on your Mac in which you can install and run Windows. Parallels is not free, but there is a trial version available so you can try it before you buy it.
Microsoft and Apple are two of the most well-known computer technology companies. Microsoft’s best known for its software programs, like Windows and Microsoft Office, while Apple makes high-end gadgets like MacBooks, iPhones, and iPads. Apple also has its own operating system called macOS as well which comes installed on all Mac models.
But what if you want to use Windows apps while taking advantage of the physical hardware of your Apple device? Computers like iMac Pro and MacBook Pro are very powerful machines with high video memory, lots of disk space and storage space, which shouldn't be wasted. Luckily, Apple allows you to use the power of your macOS to run Windows desktop apps while also having access to your regular macOS apps.
So, is it possible to run Windows games and Windows programs on a Mac? The answer is yes. Both macOS and Windows can exist on the same computer at the same time thanks to Parallels, allowing you to switch between operating systems when your Mac starts.
In this article, we'll show you how to install Windows on your Mac using Parallels. We will also discuss some of the benefits of using Parallels to run Windows on your Mac.
Jump To Section:
- What is Parallels for Mac?
- Why Use Parallels?
- Installing Windows on a Mac Desktop or Laptop With Parallels
- How To Install Windows on Mac With Parallels
- Step 1: Download and Install Parallels on Your Mac
- Step 2: Create a New Virtual Machine
- Step 3: Choose the Installation Media
- Step 4: Type in the Windows Product Key
- Step 5: Select How You Want to Use Windows
- Step 6: Choose the Name and Location of Your Virtual Machine
- Step 7: Start the Installation
Can You Install Windows on a Mac Computer?
You can install Windows on Apple Mac computers and laptops and vice versa! There are many benefits to doing this, especially if you want to run Windows apps on your macOS device.
Normally, Windows file installers have a .exe file extension, which can’t be recognized by Macs. There are, however, special programs that will recognize the .exe Windows installer extension on your Mac, allowing you to install Windows on your Mac.
The two most common ways of installing Windows on a Mac are Boot Camp and Parallels. While both Parallels and Boot Camp offer similar capabilities, running Windows with Parallels is much easier and streamlined. We'll show you how to install any compatible Windows operating system on your Mac using Parallels.
Windows 11 on a MacBook Pro 2023
What is Parallels for Mac?
Parallels is a software application that allows you to run Windows on your Mac.
The Parallels Desktop 16 for Mac is now available in three versions: Home and Student, Pro, and Business. The basic features of the Home and Student edition are included, while the Pro and Business versions have more advanced features geared toward developers and business users. You may download, and trial Parallels Desktop 14 days free to see if it suits your needs.
Parallels Desktop for Mac is a program that lets you install and run Windows on your Mac. It creates a virtual machine, or separate environment, on your Mac in which you can install and run Windows.
Why Use Parallels?
Parallels offers many benefits that you won't find in other software of its kind. Windows installation is easy and either Windows or Linux can be installed on your Mac computer. In recent years, support for Macs that operate with an Intel processor was added as well.
One of the benefits of using Parallels to run Windows on your Mac is that you don’t have to partition your hard drive in order to do so. Partitioning your hard drive means splitting it into separate sections so that you can install different operating systems on each one. This can be helpful if you want to use macOS and Windows on the same computer, but it's not required when using Parallels.
There are several other reasons why you might want to use Parallels to install Windows on your Mac. Some of the benefits of using Parallels include:
- Ability to run Windows and Mac applications side by side
- Access to a wider range of software and games that are not available on the Mac platform
- Greater flexibility in how you use your computer - for example, you can use Windows while still being able to take advantage of all the features of macOS
- Better performance than using a virtual machine software such as VMware Fusion or Oracle VirtualBox
- Ability to use your Mac's built-in camera, microphone, and speakers in Windows applications
- Easier setup and installation than using a virtual machine
Additionally, Boot Camp, the built-in Mac software that creates a separate partition on your Mac so you can switch between macOS and Windows (or Linux) on the same machine, has gone through major changes. While Boot Camp is a free way to run Windows on a Mac, Apple recently announced that the latest version and future ARM version Macs won't be able to run Windows 10 through Boot Camp.
Parallels Desktop is an option worth considering if you plan to run a Windows VM on one of these ARM-version Macs or any other Mac. Parallels also work perfectly with Intel-based Mac computers to help bring another operating system on your computer.
Installing Windows on a Mac Desktop or Laptop With Parallels
There are three possible scenarios likely to happen while you install Windows on a Mac using Parallels:
- You've just finished installing Parallels Desktop on your Mac.
- You already have Parallels Desktop installed and want to add a Windows VM (Virtual Machine) to your Mac.
- You want to migrate Windows 10 from a physical PC to a Parallels Desktop Virtual Machine on your Mac.
We'll show you the steps to take in each of these scenarios.
Prerequisite: Purchase a Windows License
While you can create a new VM for running Windows on a Mac, you may not be able to install and use the full version of Windows if you lack a license. Microsoft requires you to license Windows, and depending on what version you want on your Apple Mac device, you may need to purchase one.
Luckily, SoftwareKeep makes this easy. Through our store, you're able to buy Windows for cheap. We offer deals for Windows 10, and Windows 11, as well as several older Windows systems like Windows 8.1 or Windows 7. Our store is tailored for both individuals looking for cheap Windows as well as corporate users who need a solution.
Check out the SoftwareKeep store to get started!
If you have a physical DVD or USB of the Windows installation media, it's possible to use it for installing Windows on Mac. You can also purchase a digital license directly from Microsoft that will allow you to install Windows on Mac using Parallels but may cost more than purchasing from us.
You can find more information about this on Microsoft's website.
How To Install Windows on Mac With Parallels
Step 1: Download and Install Parallels on Your Mac
The first step is to download and install Parallels Desktop on your Mac. You can find the latest version of Parallels on our website. It's a Mac app meaning that it's entirely safe to download. Mac apps are available to download from the App Store, but you can find the Parallels Desktop download on its official website as well.
Did you know? Mac apps are generally considered safer to use than Windows apps, as Apple regulates and approves of apps that can appear in the Mac App Store. To install software, all you have to do is click on the install button and wait!
Once you have installed Parallels, open it up and you will be prompted to enter your activation key. If you don't have one, you can find a free 14-day trial.
Step 2: Create a New Virtual Machine
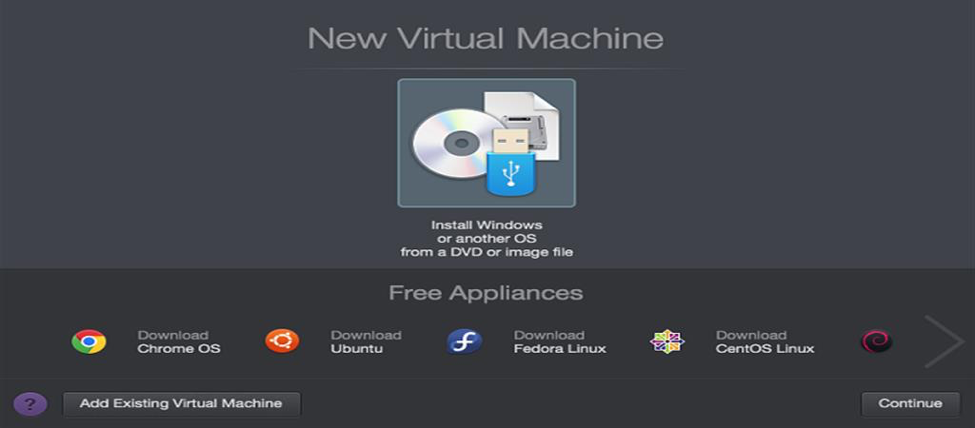
1. To install Windows on your Mac, you need to create a “virtual machine” for the Windows operating system. First, open your Parallels application, then select File and click New

2. In Parallels Desktop you’ll have a few different options to pick from, while in Parallels Lite you’ll see just one option. In both cases, click the Install Windows or another OS from DVD or image file icon and then click Continue
Step 3: Choose the Installation Media
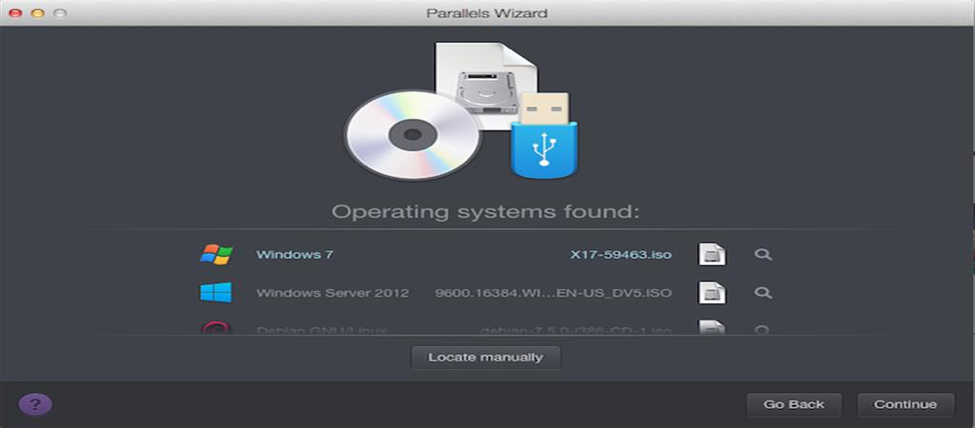
1. Normally, Parallels will detect the installation file automatically

2. If it doesn’t automatically find the Windows installation file, however, click the Locate Manually button
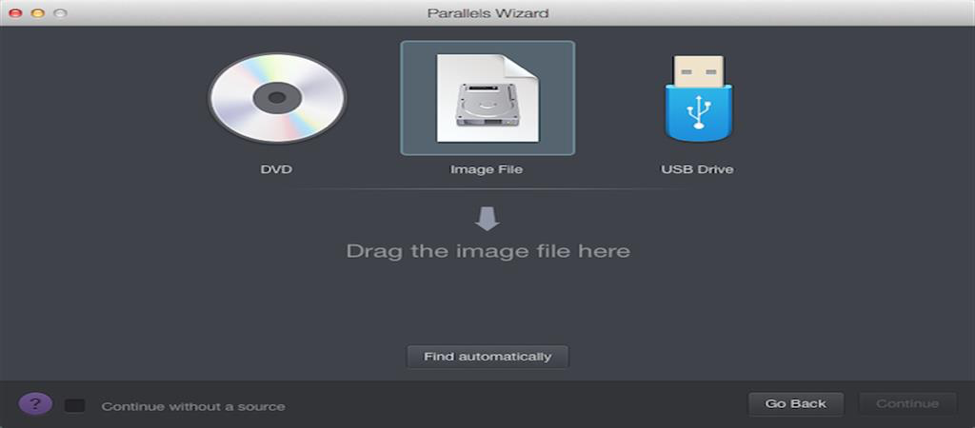
3. Now select the option where the file is located. There are three options to choose from DVD, USB drive or Image File. If you have the Windows installer program saved on a DVD or USB flash drive, pick one of these. If you’ve downloaded it directly to your computer, click Image File to open the installer (which is called a .iso disc image).
Step 4: Type in the Windows Product Key
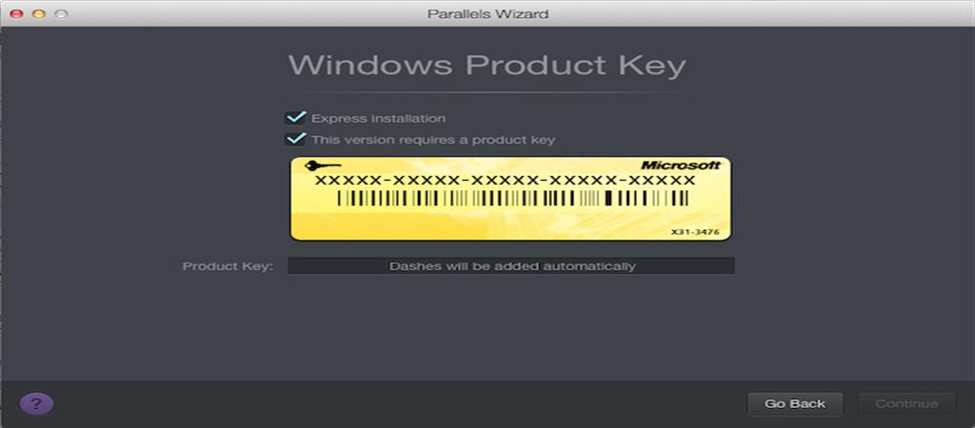
The Windows software product key is usually found on the retail package, or in the confirmation email if you bought and downloaded it online. It’s a 25-character code made of letters and numbers.
Enter this here and then click Continue. Leave Express Installation checked, or you’ll have to install “Parallels Tools” manually later.
Step 5: Select How You Want to Use Windows
There are several ways to use Windows on Mac. Choose the option most suitable for you and Parallels will optimize your Windows experience accordingly
1. Parallels Desktop Lite lets you choose from using it for Productivity (general work), Gaming, Graphic Design, or Software Development
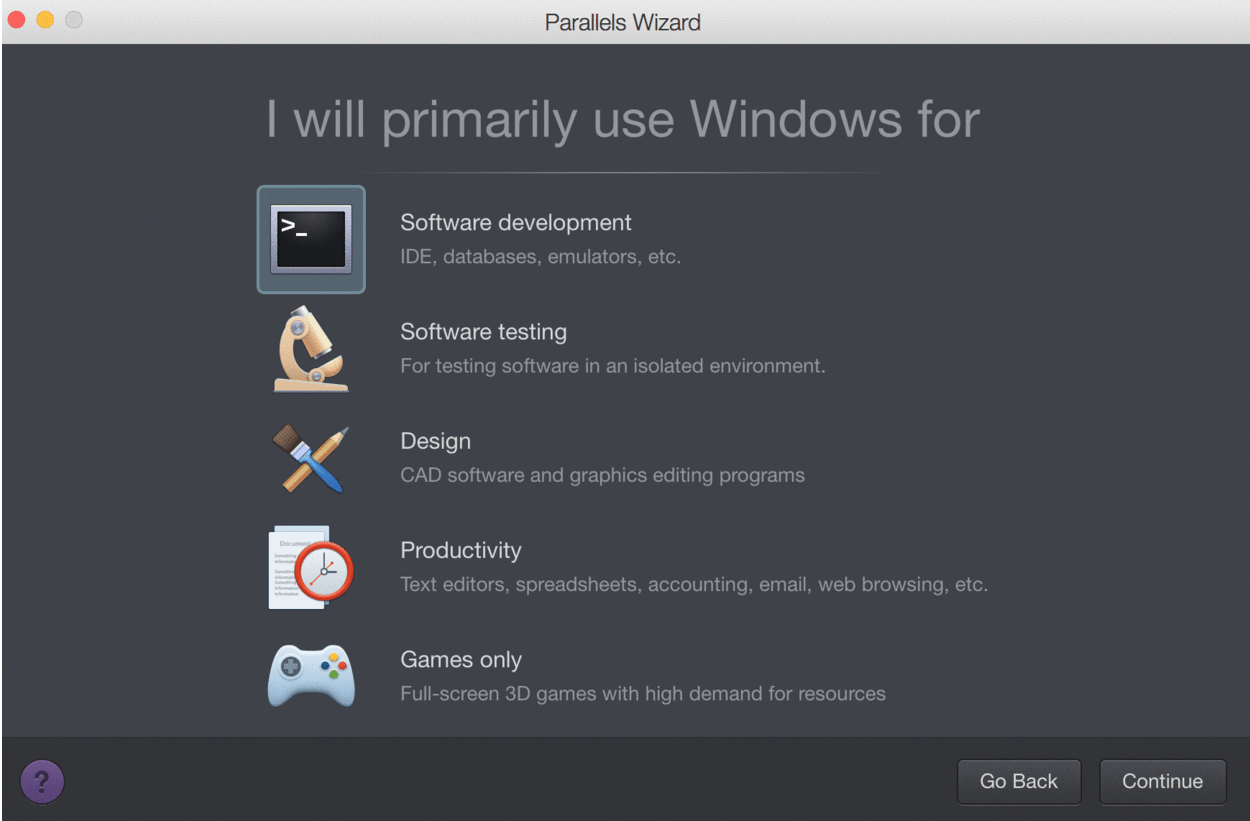
2. Parallels Desktop also gives you the added option to have Windows optimized for Software Testing.
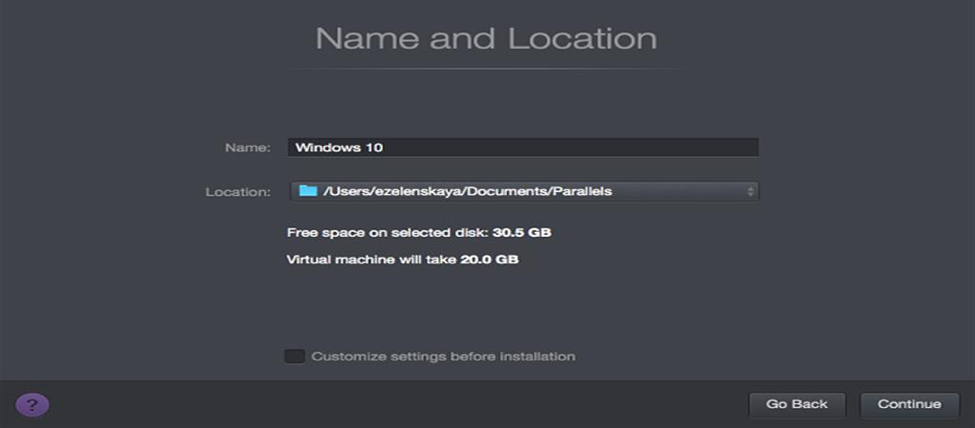
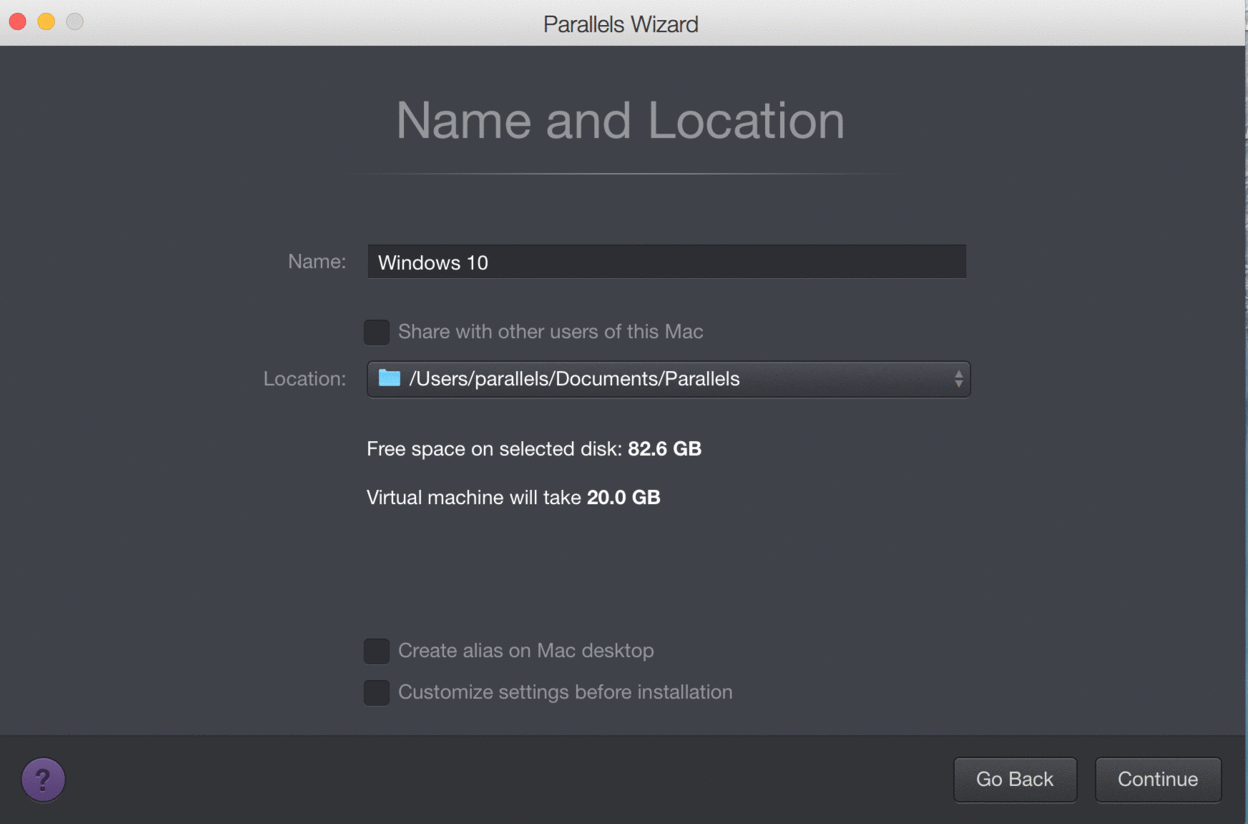
Step 6: Choose the Name and Location of Your Virtual Machine
1. Give your virtual machine a name and select where you want it to be saved. The name could be as simple as “Windows” or anything you choose.
2. By default, Parallels saves your virtual machine in its own folder under your Mac’s Documents folder. To change this, click on Customize settings before installation and select your desired location. If you want to leave it on the default setting, for now, you can always change it later.
3. Parallels Desktop also lets you share your installation of Windows with other user accounts on your Mac. Just click Share with other users of this Mac
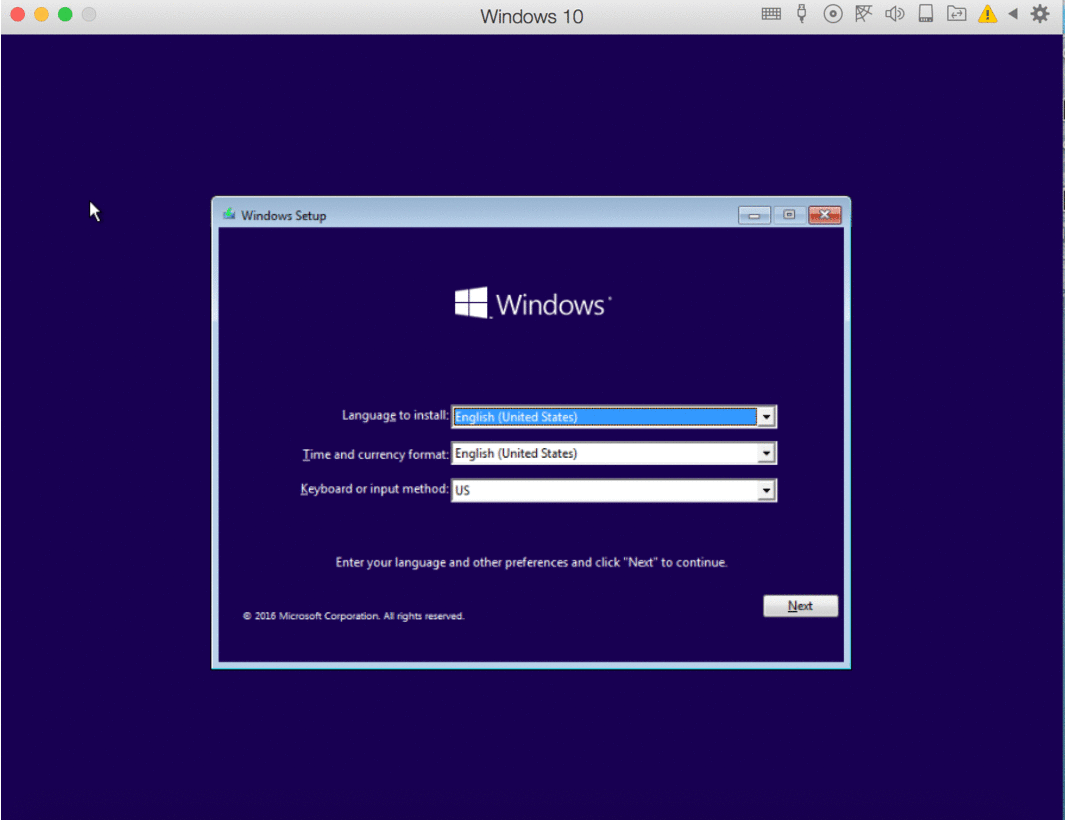
Step 7: Start the Installation
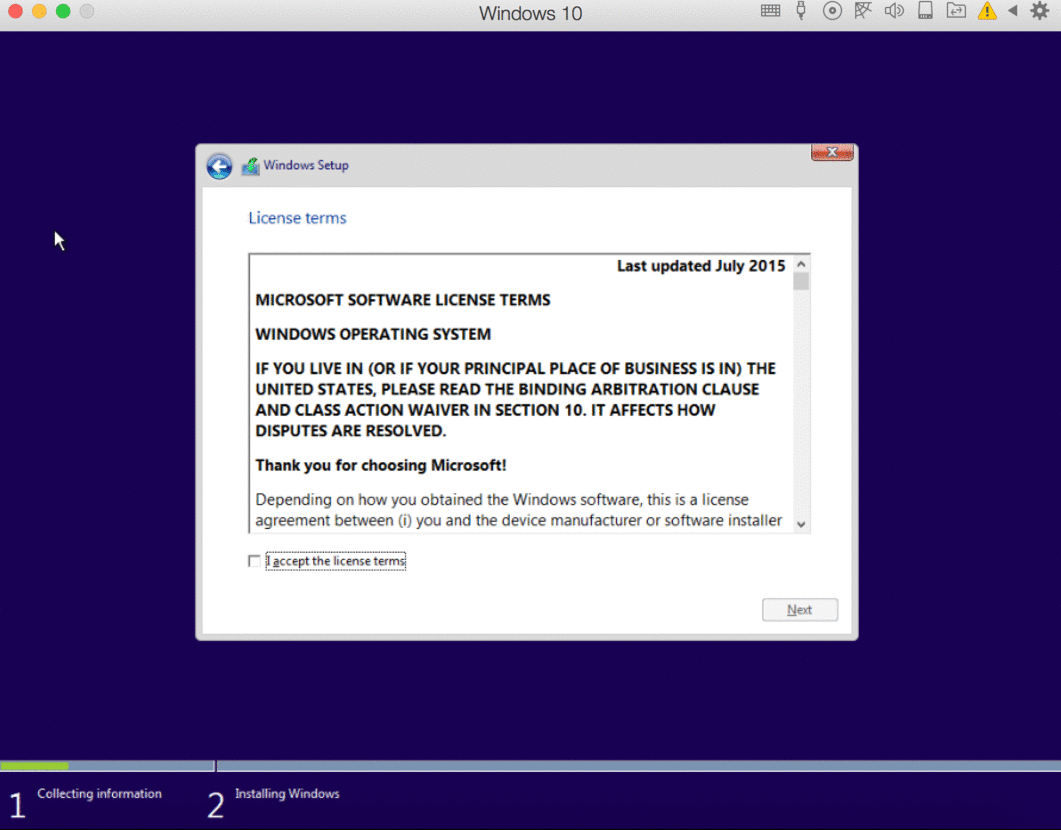
Once you’re happy with the settings, click Continue. Your computer will start installing your new Windows system. Just follow the on-screen instructions
1. Windows Installation wizard
2. Windows license terms
3. Type of Windows Installation: Upgrade or Custom

4. Getting windows ready or Installtion
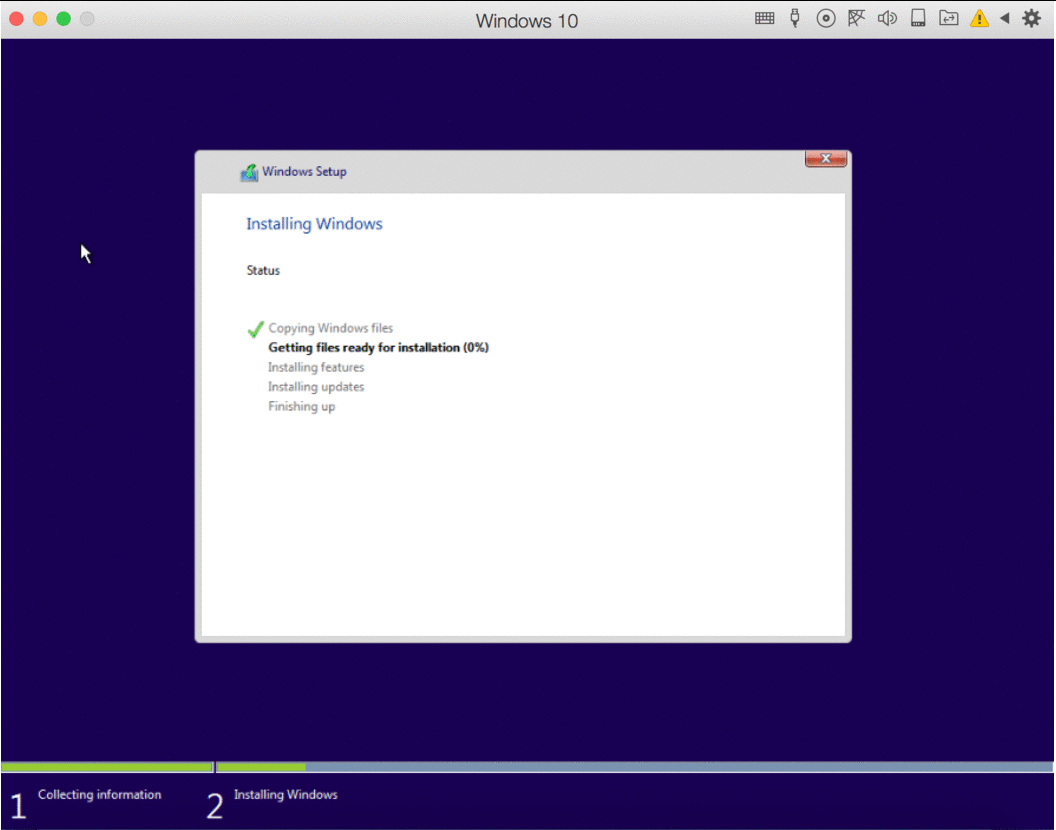
5. Once it’s finished installing, just open the app or click the Power button from the list of virtual machines on Parallels to launch Windows

The first time you open Windows on your Mac, your computer will automatically install “Parallels Tools”. Parallels Tools allows your computer to work smoothly between macOS and Windows, so make sure you don’t disrupt the installation process. Restart Windows after the installation is finished and then you’re good to go.
If you want to upgrade the version of Windows on your Mac later, you can just run the upgrade installation file on your current Windows virtual machine, and it will recognize it as normal.
Just make sure you pick the correct upgrade to be compatible with your current Windows (whether 32 or 64-bit) and have enough memory and hard disk space assigned to your virtual machine to complete the installation.
Final Thoughts
Having Windows on Mac allows you to use software only made for Windows operating systems, at their optimal performance level, without switching to another computer. For those of us who’ve gotten used to Apple’s sleek designs, it also lets us use our favorite Windows programs while keeping our Mac hardware.
The only downside is you have to divide your hard drive space between your Windows virtual machine and MacOS. Installing Windows on Mac can also expose your Mac to the usual viruses that Windows computers are susceptible to. It’s extremely important then to ensure you have a reliable antivirus program installed on your computer. You can browse our articles here on how to install windows without a USB.
One More Thing
Sign up for our newsletter and access our blog posts, promotions, and discount codes early. Thank you for reading! We hope to see you again soon.
You May Also Like
» Mac Startup Disk is Almost Full: 10 Ways to Clear Space on Your Mac
» How To Change Folder Color on Mac
» Solved: “Sorry, No Manipulations With Clipboard Allowed” Error on Mac
Feel free to reach out with questions or requests you’d like us to cover.