When making a presentation, it's important to leave a lasting impact on your audience. No one likes to sit through an unorganized, boring presentation during a class or meeting. However, putting together a great presentation might be hard if you don't know how to get started.
Today, we’d like to share some tips and tricks about how to create great presentations in PowerPoint. For years, we've used these simple yet powerful tricks to design and make our presentations stunning. Whether you’re a newbie to PowerPoint presentations or a Pro, there’s a takeaway tip for you. After reading this article, you'll be able to deliver professional and memorable presentations to your audience.
Before we dive into the PowerPoint Tips and Hacks, let's learn some cardinal rules about PowerPoint presentation.
Jump to Tip:
- Key PowerPoint Presentation and design Rules
- 1. Plan Your Content First
- 2. Reduce the text in your presentation
- 3. Get high-quality images
- 4. Work with templates
- 5. Use the Design Ideas tool
- 6. Make use of grids and guides
- 7. Download custom fonts
- 8. Use the eyedropper tool
- 9. Animate your charts
- 10. Rehearse Your Presentation
- Related Articles
Key PowerPoint Presentation and design Rules
- Keep each slide to just one TAKEAWAY. Avoid the temptation of “throwing the baby with a basin.” Like a drip, let your audience yearn to know what’s next.
- Less is always MORE. So, keep your desk as simple as possible. Minimize flashy, complex, and distractive slides. Also, avoid clutter.
- CLEAN, yet simple formatting will make your work look “Cool.” Use bullet points and consistent color themes.
- High-QUALITY graphics instead of words. Pictures matter, they create long-lasting impressions, if you can stick to this.
Now that you understand the rules, why not learn the tricks and tips?
1. Plan Your Content First

Do you remember the old adage by Franklin, “ if you fail to plan, you’re planning to fail.” We can't stress this enough. PowerPoint is a visual medium, therefore, before you get distracted with the visuals, pen down what you want to say and which order before you even open the app.
As a pro tip, use brainstorming tools like storyboards, flowcharts, and mind maps to sketch your content flow. With this in mind, you’re destined to make an appealing copy.
2. Reduce the text in your presentation

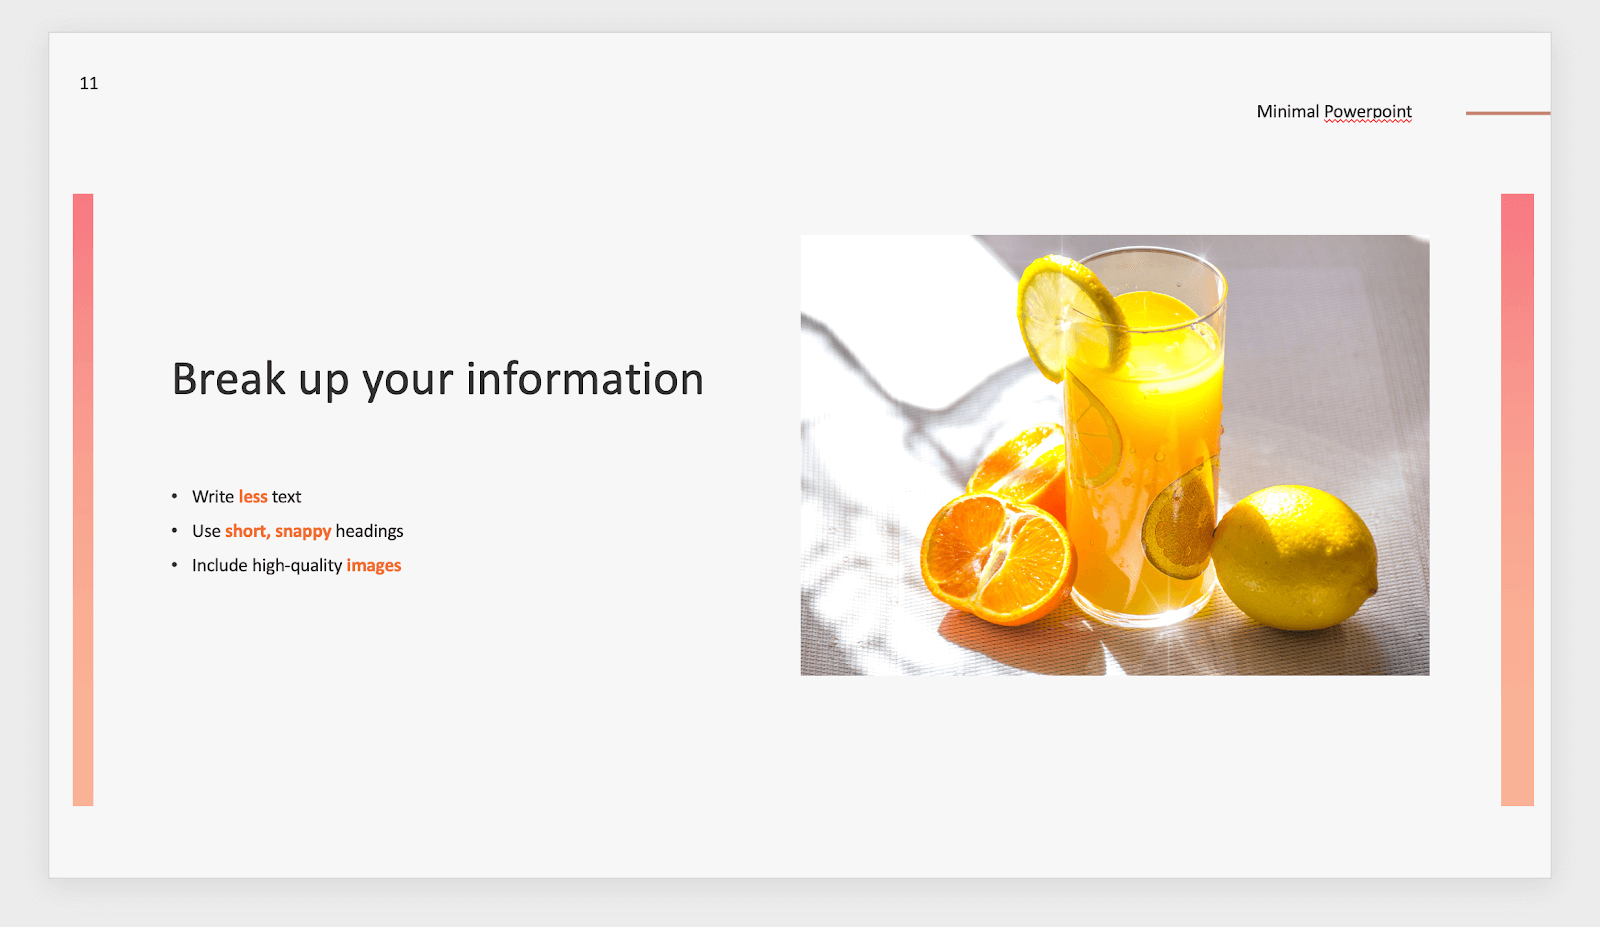
When making your slides, remember the famous phrase "less is more". Simplicity is superior when you're making a presentation. You should always try to highlight only key points with text. Fill in the gaps verbally while presenting or by attaching images and graphs.
Cluttered slides make it hard for your audience to focus on and absorb information. What makes your slides digestible is the way you space out information. Don't be afraid to utilize white space, you don't have to fill out every nook and cranny on your page.
3. Get high-quality images

It’s important that the images you include in your presentation are of good quality. Most of the time, your slides will be shown in large as you present. The flaws in low-quality images become impossible to miss in this scenario.
There are a few websites I personally use when looking for images in high-quality. If you need something for free with no credit required, I recommend Pexels. You can find some serious gems in their user-generated selection of images.
Adobe Stock is a paid service, however, it offers the largest variety of top-tier imagery. First-time users also get to download and use 10 images for free. If you choose smart, this is more than enough to cover your presentation in wonderful images.
4. Work with templates

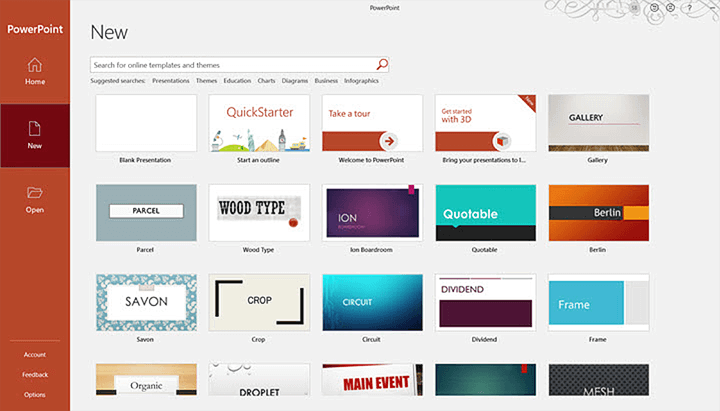
Templates are available in PowerPoint for free. They're basically presentations already designed and filled with elements for you. All you have to do is add your own information and images, then hit the save button.
These templates can save you a lot of time, however, they also deduct points for creativity. You can find great free templates on Slidesgo. Keep in mind that templates are available to everyone. It's possible that the template you've used will be recognized by your audience.
Paid templates reduce the risk of this. My favorite website to look for affordable templates is Envato Market. Most templates come with over 100 slides, making them re-usable in the future.
5. Use the Design Ideas tool

(Office Support)
If you'd rather not opt for templates but need a quick way to design your slides, try the Design Ideas tool. First, you need to put some elements on your slides such as text and images. After doing so, you can use the tool to get unique designs generated by PowerPoint.
All design suggestions are randomly generated. The possibility of coming across the same suggestion is low. This makes your slides original, which is especially good if you’re presenting a common topic.
Are you interested in learning more about the PowerPoint Design Ideas tool? Make sure to read our What is the PowerPoint Design Ideas Tool and How to Use it (PowerPoint Designer) article.
6. Make use of grids and guides

An easy way to make your slides more organized is by using the grid and guidelines in PowerPoint. When these features are turned on, your elements will automatically snap to where you want them to be.
Enable grids and guidelines by going to the View tab and ticking whichever options you want visible. Don't worry, these guides won't be visible on your finished presentation. They're only present while editing.
Your elements will snap to grids and guidelines, making pixel-perfect adjustments.
7. Download custom fonts

Using the appropriate types of fonts can boost the looks of your presentation. Sure, default fonts that are already installed on every computer work. Custom fonts take things a step further design-wise.
A good font catches the attention of your audience in the right way. Bold, powerful fonts work well for headers and subheadings. Readable fonts work best for the main contents of each slide.
You can play around with the look of each font, too. Download handwritten fonts to give your presentation a more playful vibe. Work with sans-serif fonts to achieve a clean, modern feel. Use serif fonts if you want your slides to appeal more professional and classy.
I personally recommend downloading fonts from Google Fonts. It’s free and contains varieties of each font displayed.
8. Use the eyedropper tool

Another design tip involves the eyedropper tool. You should always stick to a small color palette when working on your presentation. Using the eyedropper tool allows you to make elements the same color. This applies to text and even shapes.
Simply select the element you want to color and use the eyedropper tool. You'll be able to click on any part of the screen to select a color. This is a quick way to make things match on your slides.
9. Animate your charts

Present your data more excitingly by animating your charts. Implementing this simple thing in your presentations will engage your audience more. As you speak, data will animate onto your slide instead of appearing all at once.
Animate charts by clicking on the chart you want to animate and switching to the Animation tab. Here, select the animation you want to use, then expand Effect Options. You can choose between various options. Animate the entire chart at once, or only animate sections of it at a time.
10. Rehearse Your Presentation

Confidence is everything when it comes to doing a presentation. TIME is an ESSENTIAL resource, right? If your slide presentation cannot fit within the allocated time, then you’ve FAILED. To avoid this, ensure you rehearse your presentation and check if they will fit within the allocated time.
Related Articles
> PowerPoint Design Ideas Tool and How to Use it
> How to Reduce the File Size of a PowerPoint Presentation
> How to Add YouTube Video to PowerPoint