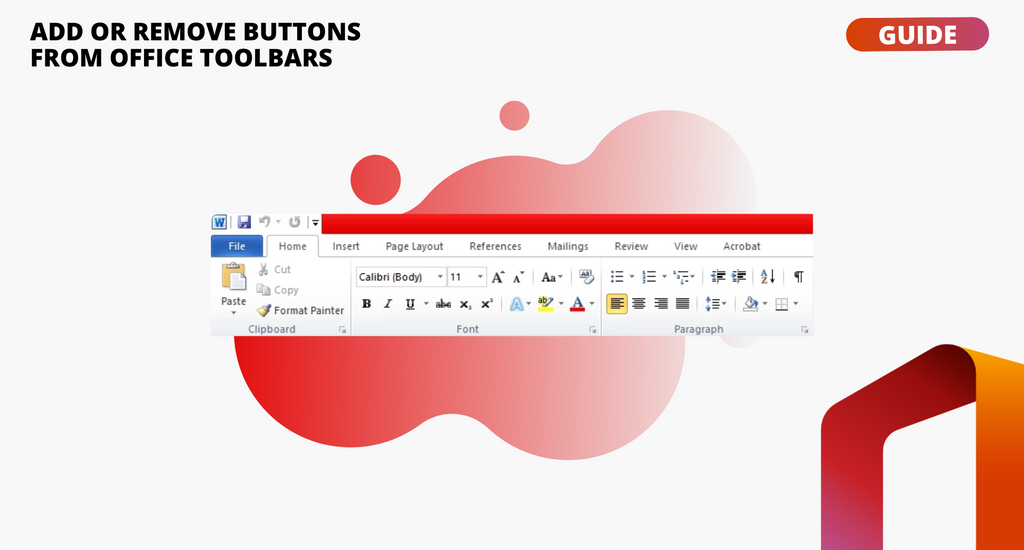
Toolbars hold useful features and tools in a readily available space at the top of your screen.
Personalizing toolbars allow you to quickly and easily access the tools you use most often. You can do this for each Office app, which allows you to drag features from different menu areas into single toolbars.

By customizing your toolbars, you will no longer ask for questions like “formatting toolbar in ms word” or “how to show ribbon in word.” In this article, you’ll also learn about how to insert toolbar.
The steps below will guide you through customizing your own toolbars in Microsoft Office for Windows.
Quick Access Toolbar
Right at the top of your Office application window is the Quick Access Toolbar. It’s always present, making whichever tools it holds immediately available.
By default, it contains the commands users typically make use of most, but you can also mix and match commands from different tabs to suit your needs.
How to add a command to the Quick Access Toolbar
New versions of Office: from the ribbon
- Find the command you want to add to your quick access toolbar from the ribbon.
- Right-click on the command.
-
Select Add to Quick Access Toolbar from the shortcut menu. You’re all set!

- For other commands not found in the ribbon, see below
New and old versions of Office
- Click on the down arrow next to the Quick Access Toolbar to open up the customization panel.
-
Choose More Commands.
- A new window will open with a list of available commands. You can add or remove commands from this window. In newer versions of Office, you can also select Commands Not in the Ribbon from the drop-down menu and add any command to your quick toolbar.
-
Select a command from the list and click Add to insert it.
How to remove a command from the Quick Access Toolbar
- Click on the down arrow next to the Quick Access Toolbar to open up the customization panel.
-
Choose More Commands.

- From the right side column, click on the command you want to remove.
-
Click Remove.
Ribbon and Toolbars
Directly beneath the Quick Access Toolbar are a series of tabs (e.g. “Home”, “Insert”, etc.), each of which contains its own toolbar. In newer versions of Office, these are called “ribbons”. If you want to customize any of these, follow the steps below.
How to add a button to an existing ribbon/toolbar
New versions of Office

-
In the Office app, you want to customize, open the File menu and choose Options from the left side menu.

- Pick Customize Ribbon.
-
From the right side column, find the tab where you want to insert a new command. Each tab contains several “custom groups”. You can either use the default custom groups or create your own within the tab of your choice. You can then add new commands to each of these custom groups, which will later appear in the ribbon.

-
Create a new group by pressing the New Group button.

-
You can give a custom name to your group by pressing Rename.

-
Find the command you want to insert into a toolbar from the left side column.

- Click on the command to select it.
-
Click Add.

- Once finished, click OK.
Older versions of Office
In older versions of Office, you can add buttons to toolbars from the View menu.
- Open the View menu, point your cursor to Toolbars and click Customize.
- In the dialogue box, click Commands.
- Using the Categories list, locate the command you want to add to an existing toolbar.
- To add it, drag and drop your chosen command onto the toolbar you want it to appear on. A vertical bar will show up, indicating where the button for the command will be located on the toolbar. Once you’ve positioned it where you want, release the mouse
(Optional) Add a picture to your new button
The default view for new buttons is text only. You can change this if you want to.
- Right-click on the command you added to your toolbar.
- Select the Default Style. This will cause the button to become a plain square instead of showing up as text only.
- Right-click on the same item once again and choose Change Button Image.
- After choosing an image, you can close the Customize dialogue box.
How to remove a custom button from a ribbon/toolbar
New versions of Office
- Open the File menu in the Office app you want to customize and choose Options from the left side menu.
- Pick Customize ribbon.
- From the right side column, find the command you want to remove.
-
Select the command and click Remove.
Older versions of Office
- Open the View menu and click on Toolbars.
- Click on the Customize option.
- Click and hold the mouse pointer on the button you want to remove, then drag the button off of the toolbar.
Personalizing Office provides many huge benefits. With the help of these steps, you can make any Office product more accessible for your needs.
Having quick access to your most-used commands and features can speed up your workflow, making it one of the best ways of saving time and making work more enjoyable
If you’re looking for a software company you can trust for its integrity and honest business practices, look no further than SoftwareKeep. We are a Microsoft Certified Partner and a BBB Accredited Business that cares about bringing our customers a reliable, satisfying experience on the software products they need. We will be with you before, during, and after all the sales.
That’s our 360 Degree SoftwareKeep Guarantee. So, what are you waiting for? Call us Today on +1 877 315 1713 or email SoftwareKeep. As well, you can reach us via Live Chat.
