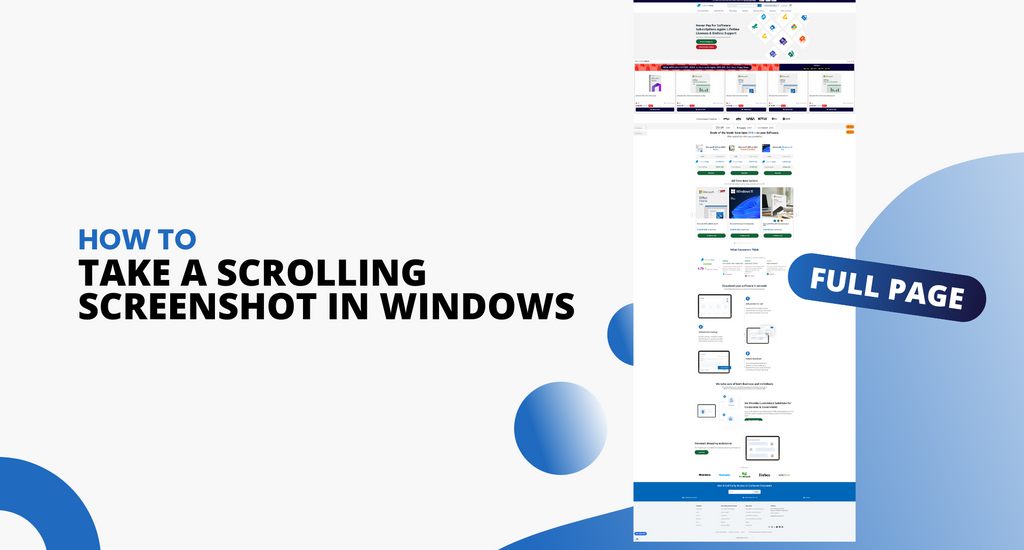
If you want to take screenshots Windows, you won’t go the direct way of pressing ‘PrtSc,’ ‘Alt+PrtSc,’ ‘Win+PrtSc,’ or ‘Fn+PrtSc.’ These methods don’t work with scrolling screenshots of a webpage, documents, or Word file. But this doesn’t mean it’s impossible to do.
Taking Scrolling screenshot on Windows PC 10/11, Laptop, and Desktop are no myth at all now!
Windows 10 offers a variety of ways to capture a screenshot. For example, to take a screenshot, you need to press either Ctrl + PRTSC or Fn + PRTSC, and you’ll instantly have a screenshot. Windows 10 even has a built-in Snipping Tool to capture pop-up menus or a window section. However, with all the built-in methods available to capture screenshots, you can only capture the content within the browser’s viewing area or full screen because Windows lacks a scrolling screenshot feature.
So, screenshots are useful, but what if you could capture a whole web page in one shot or do a scrolling capture on a Word document? In this post, you’ll learn the best tools to take scrolling screenshots in Windows PCs.
If you want to capture a scrolling screenshot in Windows - for a document, webpage, or any other content - you will need the help of a third-party application. So, your first step will be to download the third-party application you want to use.
- Press and hold Ctrl + Alt together, then press PRTSC.
- Press and hold the left mouse button, then drag the mouse on the scrolling window to select the area.
- Release the mouse click, and an auto-scroll will happen slowly.
Let’s discuss below in detail how to take scrolling screenshot:
Capturing scrolling screenshot Windows on a webpage
Because there are different web pages, each has many ways to capture a screenshot on the webpage:
Capture Scrolling Screenshot in Edge
Windows’ now native browser, Microsoft Edge, comes with much good stuff, including an integrated feature that lets users capture a whole web page, which often means capturing scrolling screenshot webpage. To take a scrolling screenshot:
- Click the three-dot menu icon - this is at the top right corner of Edge
- Next, click “Web Capture.”
- Then click “Capture full page.” This will select scrolling capture.
- From there, you can draw on and edit the image, save it, or copy or instantly share it if you click the three dots at the top right.
Capture Scrolling Screenshot in Firefox
In Firefox Quantum, there’s an integrated scrolling screenshot feature for capturing scrolling screenshots in the active window browser. This makes Firefox the only browser to have this feature without third-party tools requiring extensions.
To take scrolling screenshot Windows on Firefox:
- Click the three-lined menu icon at the top right
- Next, click “More tools -> Customize Toolbar. “
- Next, search the icons listed for the “Screenshot” icon
- Then drag it to your Firefox toolbar.
- Next, navigate to the page you want to grab scrolling screenshot.
- Now, click the new screenshot icon in your Toolbar -> then click “Save full page.” This will select scrolling capture.
- The full-screen page or long screenshot will pop up, which you can then save to your PC (in the screenshots folder).
Capture scrolling screenshot with GoFullPage (Chrome & Microsoft Edge)
If you’re looking to catch scrolling screenshot on Chrome or Edge, you can use a third-party extension (these two browsers lets you install the same Chromium extensions as Chrome). You’ll need to get an extension that will take a scrolling screenshot for you.
This is a great way to quickly take a scrolling screenshot of an entire webpage in a single scrolling screenshot.
Once you’ve installed the extension, click the GoFullPage icon at the top-right corner of your browser. (If it’s not there right away, click the puzzle piece icon, then GoFullPage from the extensions list). Then all you’ll need to do is click the Pin icon next to it to get it to appear permanently in your particular browser’s bar.
Once you’ve clicked GoFullPage, the app will scan the entire web page you’re on and capture a long screenshot or scrolling screenshot. From here, you can edit, annotate, and download the screenshot, either as a PDF or PNG file. You can also share the scrolling screenshot as you wish.
5 applications to capture scrolling screenshots Windows
If you’re not on a web page but still looking to take scrolling screenshots on other apps like Word, games, etc., you can use third-party tools to grab scrolling screenshots.
So, here are 5 of the best tools to taking scrolling screenshots in Windows 10:
ShareX
ShareX is a great tool for scrolling capture with full screen capabilities to take scrolling screenshots.
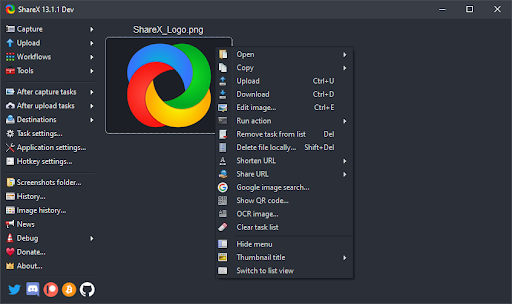
If you’re a game, then you’ve probably heard of ShareX because of its popularity in taking screenshots. ShareX window capturing is probably the most used third-party tool for screen capture.
ShareX is a free and open-source program for Windows and Mac, which lets you record or capture your screen area. You can also share the screenshot or record with a single press of a key. It is one of the reliable tools to capture scrolling screenshots in Windows.
Gamers widely use ShareX to take a scrolling screenshot because of its robust screen-capture capabilities. Among the key features of ShareX include video capture, scrolling screen capture, GIFs, region-select, and workflows, among many filters and effects that you can add to your captures.
PicPick
PickPick is one of the Industry’s leading scrolling capture tools to capture a screenshot.
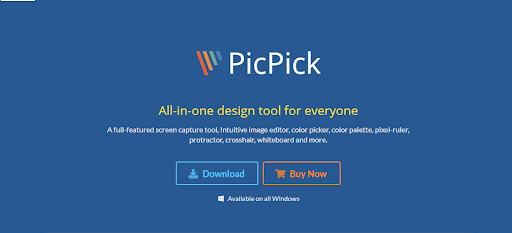
PicPick is described as an all-in-one screen capture tool for everyone - home and business - to take a scrolling screenshot. It is a full-featured screenshot or screen capture tool, color picker, color palette, Intuitive image editor, pixel-ruler, whiteboard, protractor, crosshair, and more. It is a personal favorite for home users.
Perhaps, the best thing about PicPick is that it’s free to use, for personal use, packs some very cool features that are missing in some paid programs. This includes the feature that helps you capture the scrolling screen.
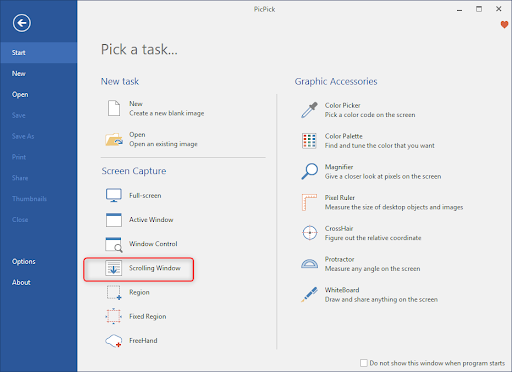
As regards screen capture, PicPick offers seven different screen capture modes: Window control, Fullscreen, Active Window, Scrolling Window, Fixed Region, Region, and FreeHand. These features will suit different scenarios to customize your screenshots to your particular liking.
To capture a scrolling screenshot using the PicPick capture menu, here are the steps:
- Press and hold Ctrl + Alt together, then press PRTSC. A red-highlighted rectangular box will appear.
- Now, press and hold the mouse left-click.
- Next, drag the mouse on the scrolling window to select the area.
- Now, release the mouse click, and you’ll see an auto-scroll happening slowly.
- This will allow your entire window to be captured.
- The process should take seconds.
After you take scrolling screenshots, you can edit screenshots and share them as you wish.
SCREEENPRESSO

Yet another powerful screen capture tool, Screenpresso screen capture, allows you to capture a video or an image of whatever is on your computer screen. You can also annotate or edit screenshot and share it with anyone. Your full page screenshot or long screenshot will be saved in the screenshot folder.
Screenpresso comes with a free version, convenient for those who prefer not to pay, especially home users. The application has an easy installation process, and it doesn’t take up a lot of storage space.
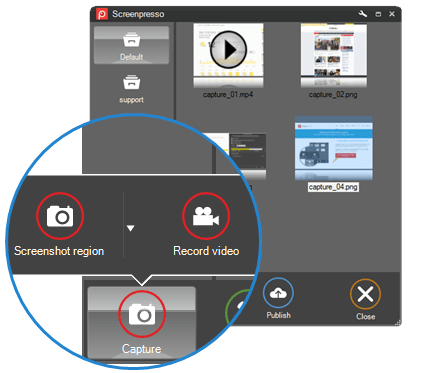
It is important to note that using Screenpresso to take screenshots, including scrolling screenshots, is also completely effortless for experienced and beginner users. To take a scrolling screenshot on Windows with SreenPresso, you only need to download and install it, then position your cursor in a way that grabs the screenshots tool, usually at the top center of your PC.
Snagit

Snagit is one of the most popular screenshot and screen capture tools and video-recording tools in the market. It was created and distributed by TechSmith. Its interface is sleek and more focused than PicPicks. Besides, it's an image editing software developed to meet consumer needs.
With Snagit, you can quickly capture a process, create visual instructions, capture active windows, and add your explanation with simple tweaks. Snagit also boasts of many superior image-editing functionalities than PicPick.

However, Snagit is only available on a paid license that costs $50 per license. This can be relatively high, especially for individual users who want to take scrolling screenshots on Windows.
Initially, only for the Windows operating systems, the recent versions of Snagit are also available for macOS. However, these macOS versions may have fewer features.
Apowersoft Screen Capture Pro
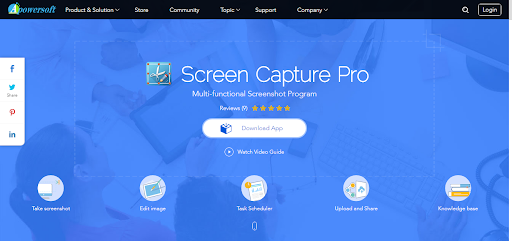
Apowersoft Screen Capture Pro is a new, innovative, and highly customized screen capture tool for screenshot capture and image editing. This program is highly intuitive, thanks to its ten screenshot modes. Its screenshot modes include Scrolling screenshots, capturing active windows, Freehand, Menu, etc.
With the scrolling Window capture mode, you can capture an active window, browser, or webpage, including contents hidden from the viewer. The program also comes with a “Task Scheduler,” allowing you to take automatic scrolling screenshots on Windows.
Thanks to its user-friendly interface, you can quickly access the program’s features such as snapshot, scrolling screen, or screen recording. The easy, intuitive interface in Apowersoft Screen Capture Pro allows you to effortlessly utilize all of its features.
Final thoughts
We believe that you can capture automatic screenshots in Windows (scrolling capture) with these applications, including Windows 10. If you need any further help, come to our help center, and don’t be afraid to reach out to our customer service team, available 24/7 to assist you. Please return to us for more informative articles related to productivity and modern-day technology!
If you found this helpful, subscribe to our list to receive daily updates and troubleshooting solutions in your inbox. Would you like to receive promotions, deals, and discounts to get our products for the best price? Follow us on our socials.
