After you're done with your work, and even during the time you're working, it's important to save your document so it doesn't get lost. Saving also opens up new opportunities to share your document with others, for example, printing or attaching a file to an email.
Saving allows you to space out your working time, too. If you started a document but want to finish it later without losing progress, simply save the file and return to it when you're ready.
You're able to save a document at any point in time, even while you're typing. We recommend saving a file frequently, at least every 5 to 10 minutes. Even if you plan on continuing to work, it’s better to save often than not save at all. Unexpected issues can always ruin your hard work; imagine how frustrating it'd be to lose your progress to a power outage. Don't risk wasting time and effort and simply learn how to efficiently save your files before disaster struck.
This guide focuses on showing you how you can save your document in perpetual Word versions, as well as Word for Office 365. If you know anyone who needs help with Word basics, don't be shy and share our articles to spread the knowledge!
Things you’ll need
- A device with Microsoft Word installed and activated
- (Optional) An active Office 365 subscription
Are you ready to get started? Let’s learn how to save a document in Microsoft Word.
Method 1:
- If you haven’t yet, start your document by typing in some text first or inserting an element. This step isn’t necessary, however, its better to test saving files with a document that has some content in it.
-
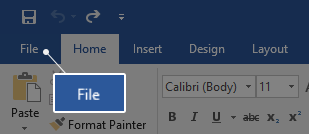
Click on File from the Ribbon interface on the top of your screen.
-
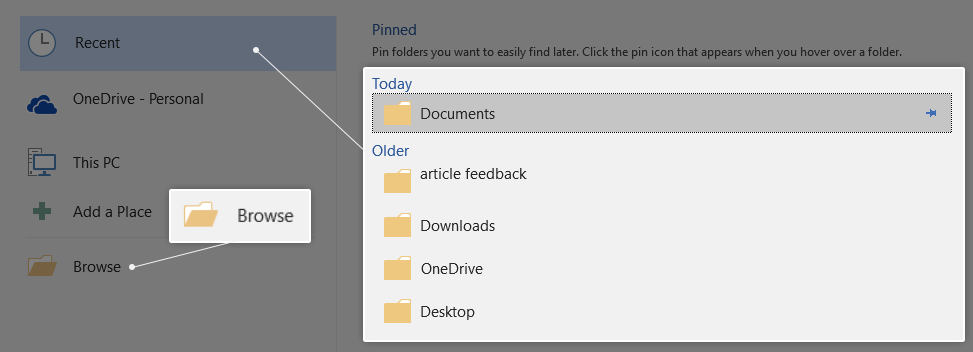
From the menu on the left-hand side, click on the Save button. This will open up a page full of options for saving your file.

-
You can either choose one of your Recent folders or click on the Browse button to find a place on your computer where you’ll save your file to. Simply navigate to the folder you wish to use.
-
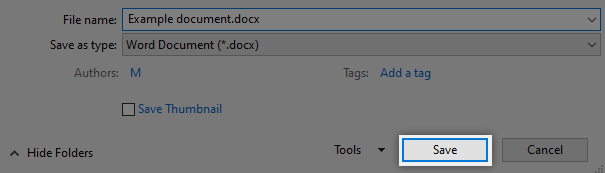
Word will automatically give your document a name based on the first words you typed in. If you're unhappy with this name, you can change it by clicking on the box next to File name and typing in the desired name. We recommend that you give your document a short but recognizable name.

- You can also see a box underneath the name of your file called Save as type. This allows you to change the file type of your file, however, it should rarely be used as Word documents can be easily opened on any computer, even if Word itself isn't present on it.
-
When you’re happy with the destination folder, file name and file type, click on the Save button.
- Now, whenever you save your document, this dialogue box will be skipped, as Word already has the location and name of your file to quickly save it for you as many times as you’d like.
If you like using shortcuts to speed up your work, keep in mind that you can access the Save page quickly by pressing Ctrl + S. This is a universal shortcut in Microsoft Office, so make sure to memorize it well!
Method 2:
You can use this method when you already saved a file, but want to save the same Word document in a different file. This is most useful when creating backups without having to copy and paste the contents of the original document multiple times as changes are being made.
-
Click on File from the Ribbon interface on the top of your screen.
-
From the menu on the left-hand side, click on the Save as button. This will open up a page full of options for saving your file.
-
You can either choose one of your Recent folders or click on the Browse button to find a place on your computer where you’ll save your file to. Simply navigate to the folder you wish to use.
-
Word will automatically make the document name match the original name, but you can always change it by clicking on the field next to Filename and typing in the desired name.
- You can also see a box underneath the name of your file called Save as type. This allows you to change the file type of your file, however, it should rarely be used as Word documents can be easily opened on any computer, even if Word itself isn't present on it.
-
When you’re happy with the destination folder, file name and file type, click on the Save button.
- Now, you’re able to create endless copies of a file without having to actually copy anything.
Are you a shortcut guru? You can open the Save as menu quicker by pressing the F12 key on your keyboard. Simple as that! This shortcut is universal amongst all Microsoft Office products, so make sure you note it down somewhere until you’ve memorized it for life.
We hope that this article was able to guide you through everything you need to know about saving your documents in Word. Don’t forget to share this article with your friends, classmates, colleagues or employees who need help getting started with Word. If you want to learn more about Word or other Microsoft Office suite applications, feel free to browse our guides.
If you’re looking for a software company you can trust for its integrity and honest business practices, look no further than SoftwareKeep. We are a Microsoft Certified Partner and a BBB Accredited Business that cares about bringing our customers a reliable, satisfying experience on the software products they need. We will be with you before, during, and after all the sales.