
Are you dealing with Windows Update 0x80070002 error when trying to upgrade Windows 10 to version 1903? This error can occur when trying to install a feature update to Windows 10, and it can be a pain to deal with. Fortunately, there are ways to troubleshoot and fix this issue so you can upgrade your Windows operating system without any hassles.
In this article, we'll explore the common causes of error 0x80070002 and provide step-by-step instructions to help you fix it. Whether you're a tech-savvy user or someone new to Windows, we've got you covered. So, keep reading to learn more about how to fix error 0x80070002 when trying to install a feature update to Windows 10 (Version 1903).
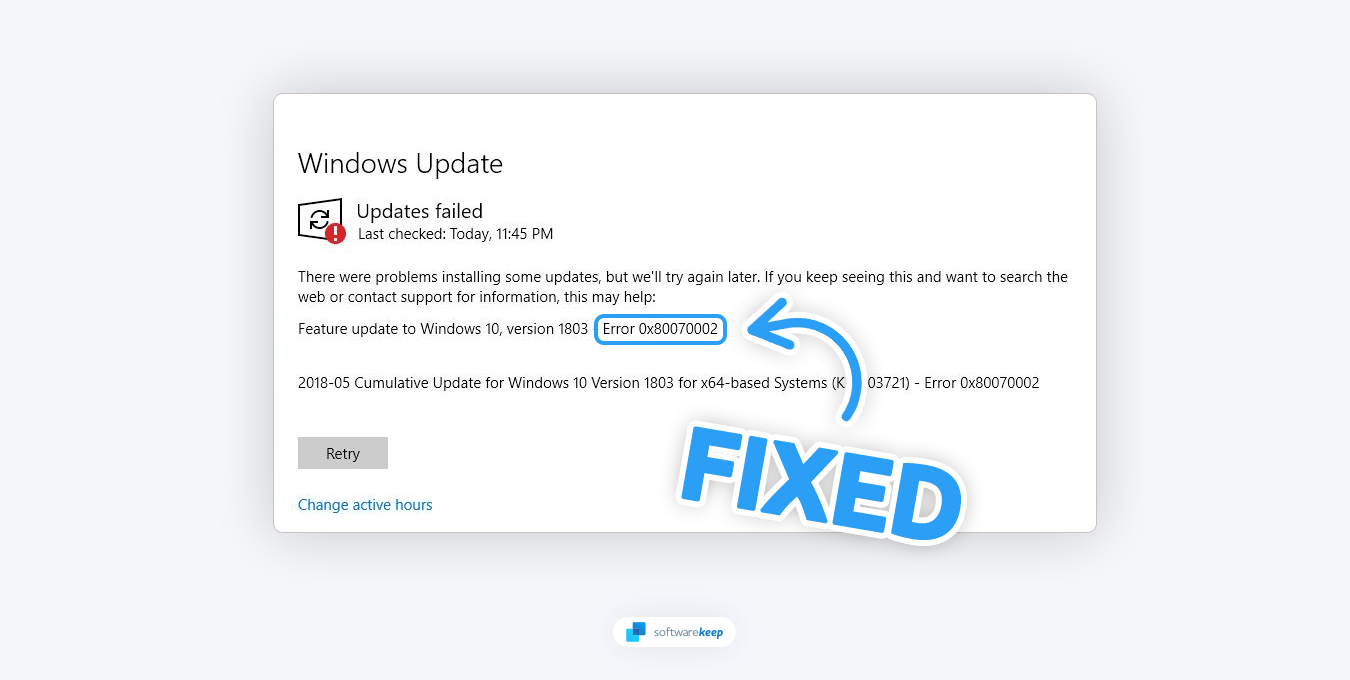
Table of Contents
- What is Error 0x80070002?
- What Causes Error 0x80070002?
- How to Fix Error 0x80070002 in Windows 10
- Fix Your Date and Time Settings
- Restart the Windows Update Service
- Delete the Contents of the SoftwareDistribution Folder
- Check and Repair Your System Files
- Run the Windows Update Troubleshooter
- Run the CHKDSK Command
- Turn Off Your Antivirus
- Perform the Update in Clean Boot
- Install the Update Manually
What is Error 0x80070002?
When updating Windows 10 via Windows Update, you may encounter error 0x80070002. This error prevents you from installing the update, which leaves you without new features and open to possible threats. This frustrating error happens when key update files or folders are missing from your system, either because of corruption, or because they were deleted.
When error 0x80070002 happens, Windows 10 will generate an error message that shows the following text: "Windows could not search for new updates. An error occurred while checking for new updates for your computer. Error(s) found: code 80070002. Windows Update encountered an unknown error."
If you get the 0x80070002 error code when you try to update Windows, something might be wrong with one of the files. The problem could also happen while downloading and unpacking installation files.
What Causes Error 0x80070002?
There are many different possible causes for error 0x80070002. Here are some of the most common:
- Missing or deleted files - Some files or folders that Windows Update needs are missing or have been accidentally deleted from the system.
- Corruption of system files - The Windows Update components or system files may become corrupted, leading to the error.
- Outdated or broken update client - An outdated or broken version of the Windows Update client can also lead to the 0x80070002 error.
- Firewall or antivirus software - Antivirus software or a firewall may block the update process, causing the 0x80070002 error.
- Insufficient disk space - If the system drive is running low on disk space, it can prevent Windows Update from completing successfully.
After identifying a possible cause, you can take steps to fix the error 0x80070002.
How to Fix Error 0x80070002 in Windows 10
You can take multiple troubleshooting steps to fix this issue. Here are the solutions that you should try:
1. Fix Your Date and Time Settings
When you use the internet, your computer will usually find the correct time and date automatically. This is important because many applications and programs rely on accurate time and date information to function properly. However, if your computer can't find the correct time and date or if you enter the wrong information manually, it can cause issues like the update error 0x80070002.
- Click on your Start menu, and then click on the “Settings” icon. Alternatively, you can press the Windows + I keyboard shortcut to open the Settings app.
-
Select the “Time & Language” tab from the available options.

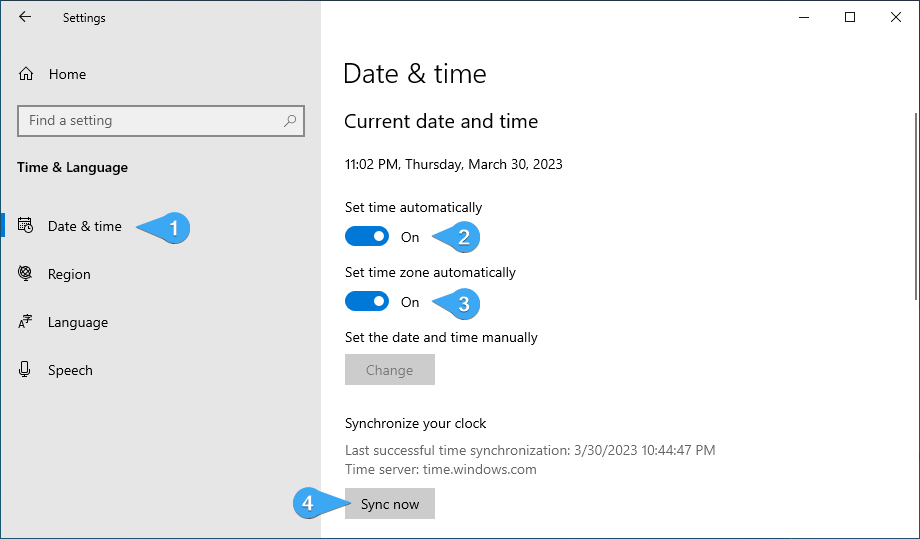
- Switch to the “Date & time” tab using the menu on the left. Here, verify that the settings are correct. To ensure this, select both "Set time automatically" and "Set time zone automatically."
-
Make sure to use the “Sync now” button to ensure your settings are correct.
- After making these changes, try updating Windows 10 again.
2. Restart the Windows Update Service
The Windows Update service is responsible for downloading and installing the updates on your computer. If this service is not running correctly, it can lead to errors like 0x80070002. To fix the issue, you'll need to restart the Windows Update Service.
-
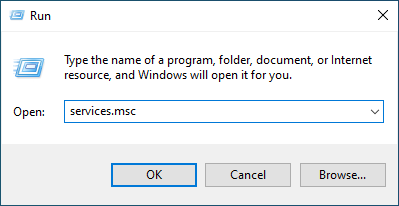
Press the Windows + R keys on your keyboard. This is going to bring up the Run utility. Type in "services.msc" and click on the OK button. This is going to launch the Services window.
-
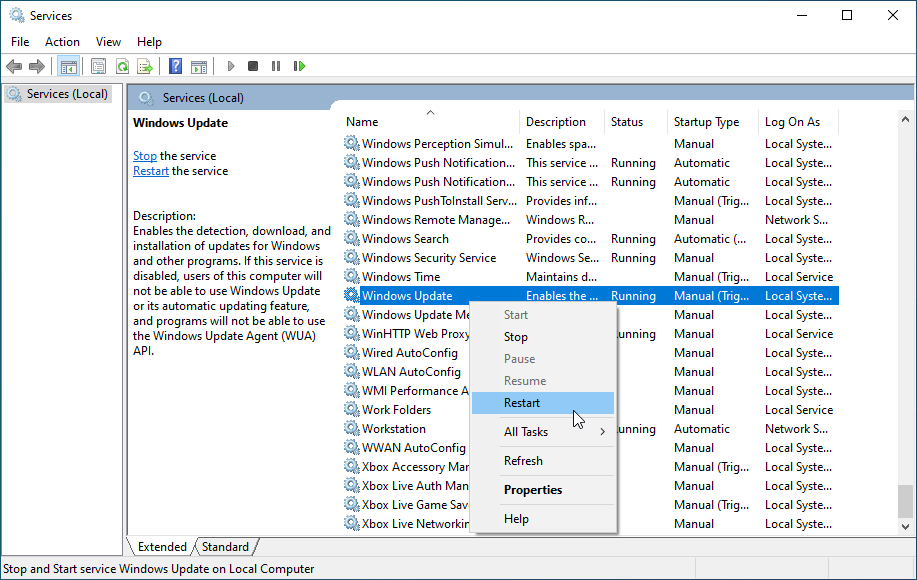
Scroll down and find the “Windows Update” service. Right-click on its name and select “Restart” from the context menu.
- Wait for the service to restart, and then attempt to update Windows 10 again. See if the 0x80070002 error happens again.
3. Delete the Contents of the SoftwareDistribution Folder
The Software Distribution folder stores temporary update files used during installation. It's possible for certain corrupted or outdated files to get stuck in this folder, causing issues with Windows Update. To fix these problems, you should delete all of the contents inside this folder and then try to install the update again.
-
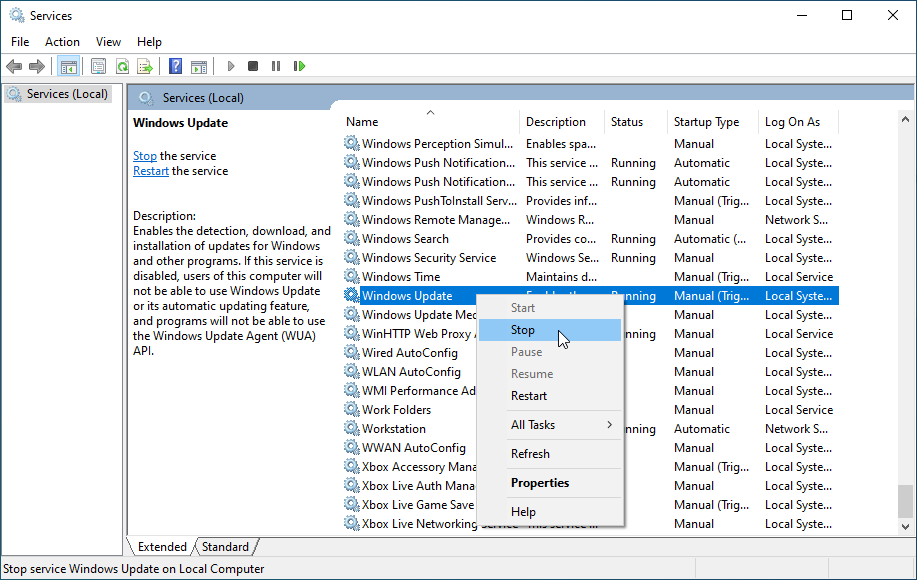
Use the instructions in the previous step to get to the Windows Update service again. This time, select “Stop” from the context menu and wait for the service to shut down.
- After the service stops, open File Explorer from your taskbar or by using the Windows + E keyboard shortcut.
-
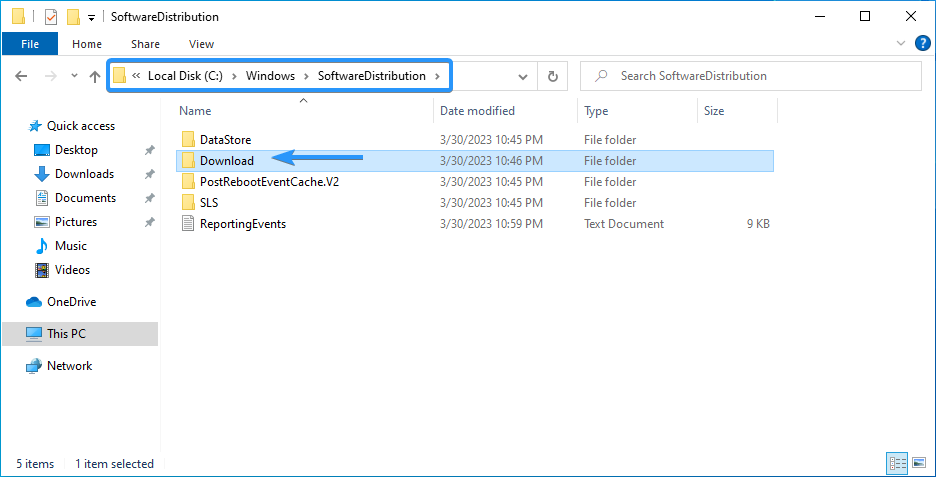
Navigate to the “C:/Windows/SoftwareDistribution” folder. If you have Windows 10 installed on a different drive, change “C:” to the letter of your system drive. Here, open the “Download” folder.
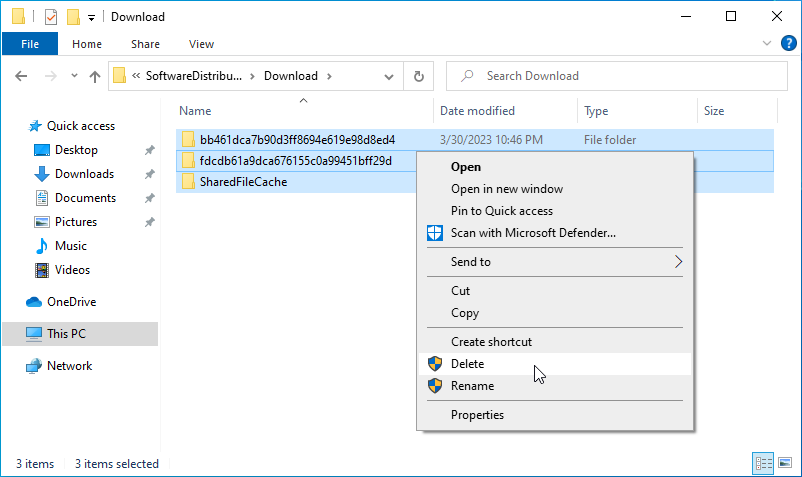
- Here, select everything by pressing the Ctrl + A keyboard shortcut, or by using your mouse.
-
Right-click on the selected files, and choose “Delete” from the context menu. Alternatively, you can also just press the Del key on your keyboard.
After clearing the Download folder in your SoftwareDistribution directory, attempt the update again. You should be able to see if it worked right away.
4. Check and Repair Your System Files
System files are important components that allow your computer to run as expected. If any of these files become corrupted or missing, it can lead to issues like the 0x80070002 error. To fix it, you should use the System File Checker (SFC scan) command-line tool to scan your system for corrupt files and repair them automatically.
-
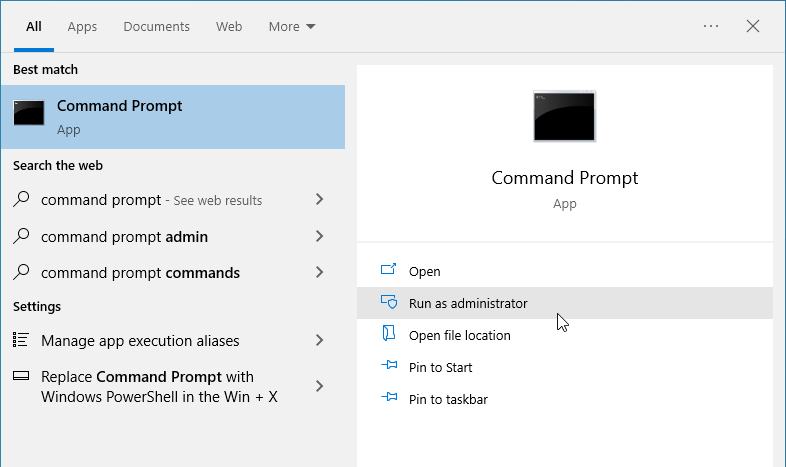
Use the Search function in your taskbar, and look for “Command Prompt.” Launch the app from the search results by clicking on “Run as administrator.” Note that you need an administrator account to do this.
- Click “Yes” when prompted. This will launch the Command Prompt with elevated permissions.
-
After the Command Prompt loads, input the following command, and then press the Enter key on your keyboard to execute it: sfc /scannow
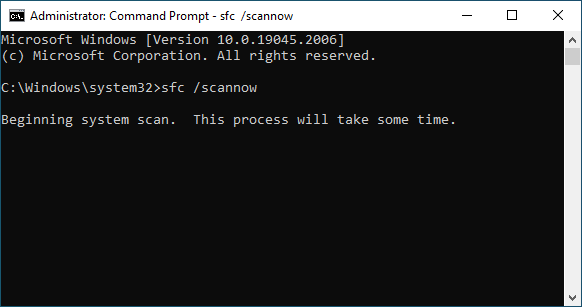
- Wait for the System File Checker to check your system files. This may take up to several minutes, depending on the speed of your computer. If the scan detects any issues with your system files, it will automatically fix them.
When the scan finishes running, try updating your system again.
5. Run the Windows Update Troubleshooter
Windows 10 comes with built-in troubleshooters to help you diagnose and resolve common issues. The Windows Update Troubleshooter is a tool that can detect and fix common errors with the Windows Update process.
- Open the Search bar in your taskbar by clicking on the magnifying glass icon. You can also bring it up with the Windows + S keyboard shortcut.
-
Type “Control Panel” in the search box. When you see it in the results, click on it to launch the application.

-
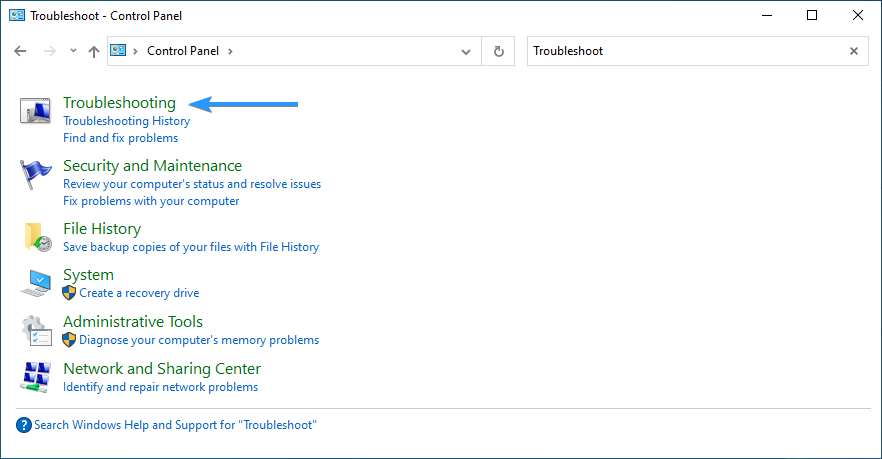
Search for “Troubleshoot” using the input field on the top right, and then click on the “Troubleshooting” header from the search results.
-
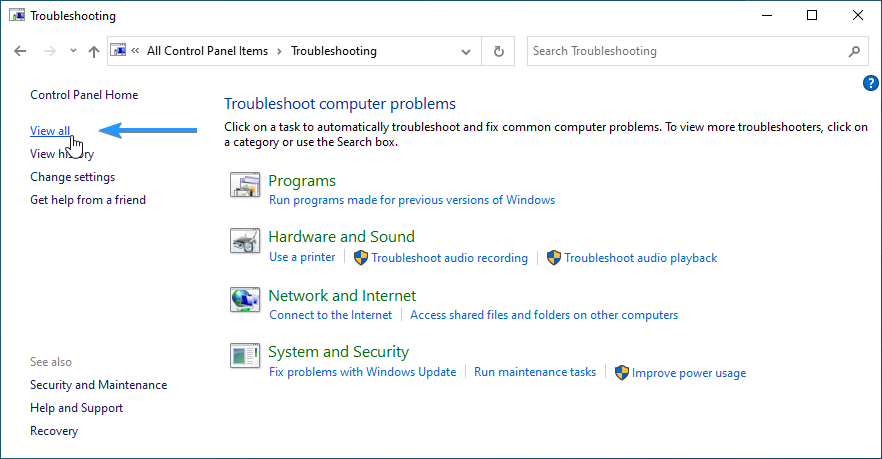
Click on the “View all” link in the left-side pane. This is going to take you to a new page with every available troubleshooter displayed.
-
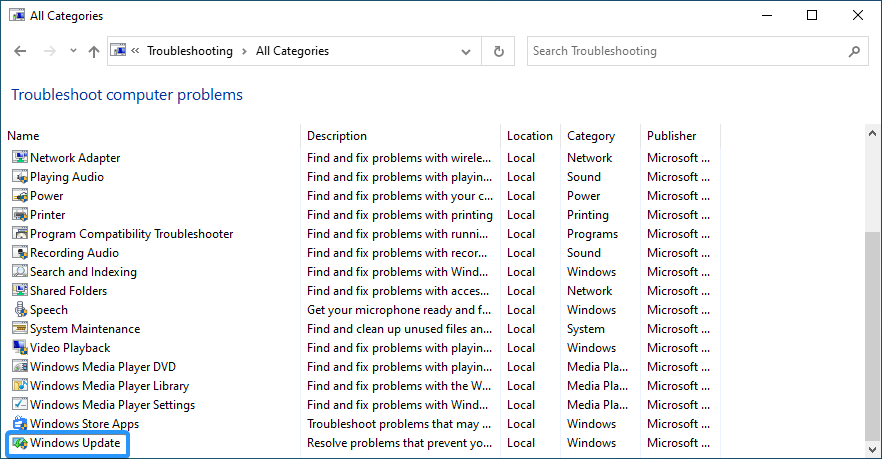
Scroll down and locate the “Windows Update” troubleshooter. Click on it once, and wait for the troubleshooter to launch in a different window.
- Click “Next” to begin the Windows Update problem analysis. If the troubleshooter can diagnose any problem, it will then attempt to fix the issue. You can see a full report at the end of the troubleshooting process.
6. Run the CHKDSK Command
File system errors or bad sectors on your hard drive can happen when your computer crashes or files are deleted improperly. These issues can cause several problems, including the 0x80070002 update error. Fortunately, Windows has a built-in solution called the CHKDSK tool, also known as CheckDisk, which can help you detect and repair file system errors.
With CHKDSK, you can identify and fix bad sectors in your hard drive's file system structure. Similar to the SFC program mentioned earlier, you can use CHKDSK by running it from the command line. Windows includes this tool, so you don't need to download or install anything separately.
- Use the Search function in your taskbar, and look for “Command Prompt.” Launch the app from the search results by clicking on “Run as administrator.” Note that you need an administrator account to do this.
- Click “Yes” when prompted. This will launch the Command Prompt with elevated permissions.
-
After the Command Prompt loads, input the following command, and then press the Enter key on your keyboard to execute it: chkdsk C: /r

- Wait for the scan to complete.
Please note that if you have Windows 10 installed on a different drive, you’ll have to change the drive letter in the command. For example, if “D:” is your system drive, change the command to “chkdsk D: /r.”
7. Turn Off Your Antivirus
Antivirus apps are notorious for blocking certain processes, files, and services. If your antivirus software is blocking the Windows Update process or preventing it from completing successfully, you may see the 0x80070002 error message. To resolve this issue, you can try temporarily disabling your antivirus software to see if it fixes the problem.
Most antivirus apps include a "real-time protection" feature that may interfere with Windows Update. Simply turning this option off should resolve the issue, but if not you can try disabling the entire program temporarily.
8. Perform the Update in Clean Boot
If none of the above steps work, you may need to perform a clean boot to fix the issue. A clean boot is a process that starts Windows with only the essential programs and services running so that you can isolate any software conflicts that may be preventing the update from completing successfully.
-
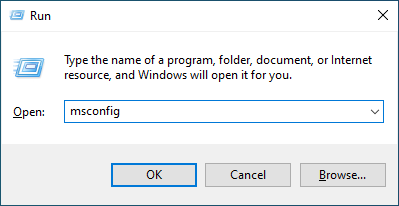
Press the Windows + R keys on your keyboard to bring up the Run utility in a new window. Type in “msconfig” without quotation marks and press the Enter key on your keyboard. This will launch the System Configuration window.
-
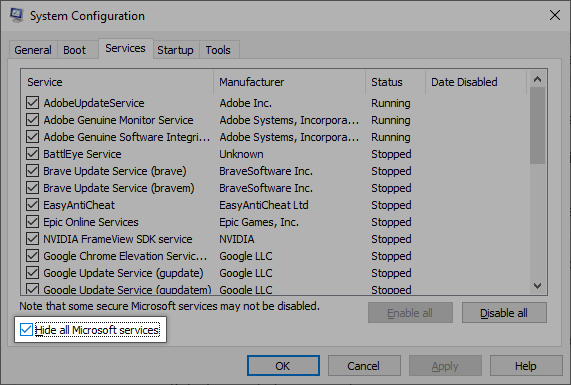
Switch over to the “Services” tab. Make sure that you check the “Hide all Microsoft services“ box. This is going to ensure that you only see third-party services.
-
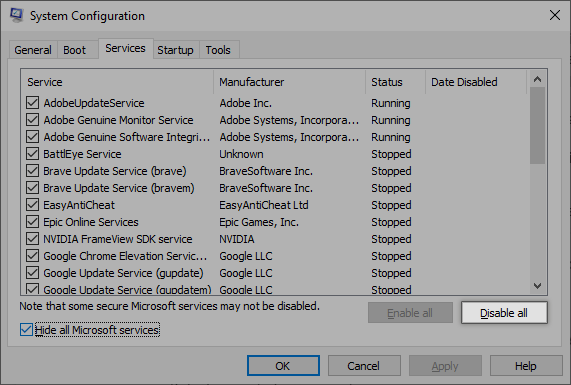
After hiding all system services, click the “Disable all“ button to disable every third-party service on your device.
- Click the “Apply” button and restart your computer. When you boot next, your computer will only initiate essential Microsoft services.
- Restart your computer.
After performing these steps, your device will reboot in a clean state with only official Microsoft services running. Try updating Windows 10 now. If the 0x80070002 error still appears, then the issue isn’t with your services.
9. Install the Update Manually
If all else fails, you can try installing the update manually by downloading the Windows 10 version 1903 file manually and running it on your computer.
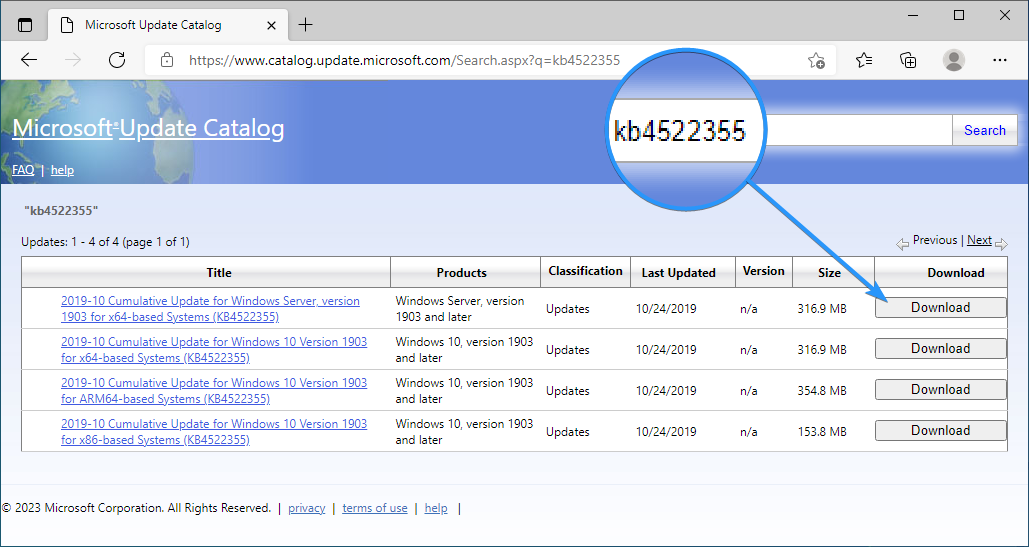
- Open the Microsoft Update Catalog in any web browser of your choice. Using the search function in the top right, look up “KB4522355.” This is the name of the Windows 10 version 1903 update.
-
Download the appropriate version for your system by clicking on the “Download” button. Make sure to review the available options to ensure it’s compatible with your hardware.
- After the download is complete, launch the installer and follow the on-screen prompts to manually install the update.
Conclusion
The feature update to Windows 10 version 1903 can bring a lot of improvements to your system, but it can also cause errors like 0x80070002. Fortunately, there are several steps that you can take to fix this issue and get the update installed successfully. Make sure to try each of the methods listed above and see which one works best for you.
Following the tips outlined in this article should help prevent any further issues from occurring when trying to install updates on your computer. We hope this guide has been useful in helping you resolve the 0x80070002 error and get your device up to date.
One More Thing
We’re glad you’ve read this article. :) Thank you for reading.
If you have a second, please share this article on your socials; someone else may benefit too.
Subscribe to our newsletter and be the first to read our future articles, reviews, and blog post right from your inbox. We also offer deals, promotions, and updates on our products and share them via email. You won’t miss one.
Related Articles
» Windows 10: BSOD Error 0xC000021A Fixed
» How To Fix “Error 0x80004005” on Windows
» How To Fix “Error Code: 0XC0000035” Kernel Event Tracing on Windows?